Click Here to Subscribe and receive a Free Bonus Pattern


Amigurumi gingerbread
Free pattern © Mari-Liis Lille
Welcome to the world of amigurumi gingerbreads—let’s dive into some festive crafting!
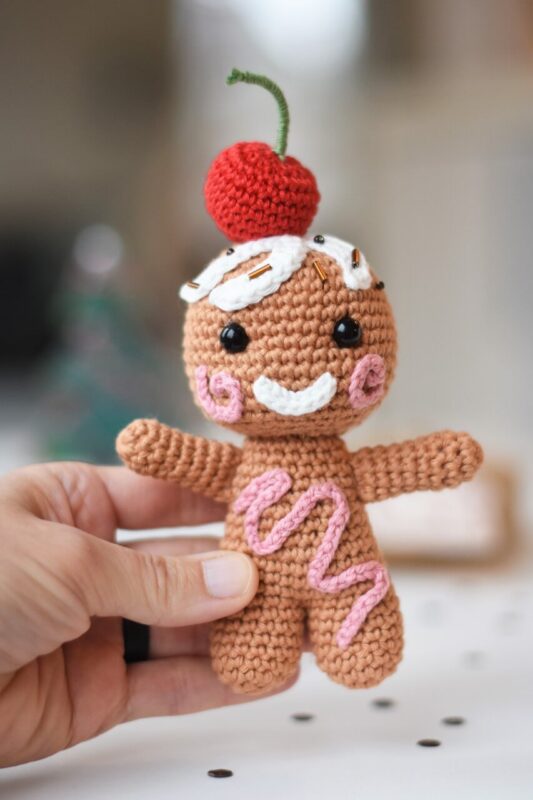
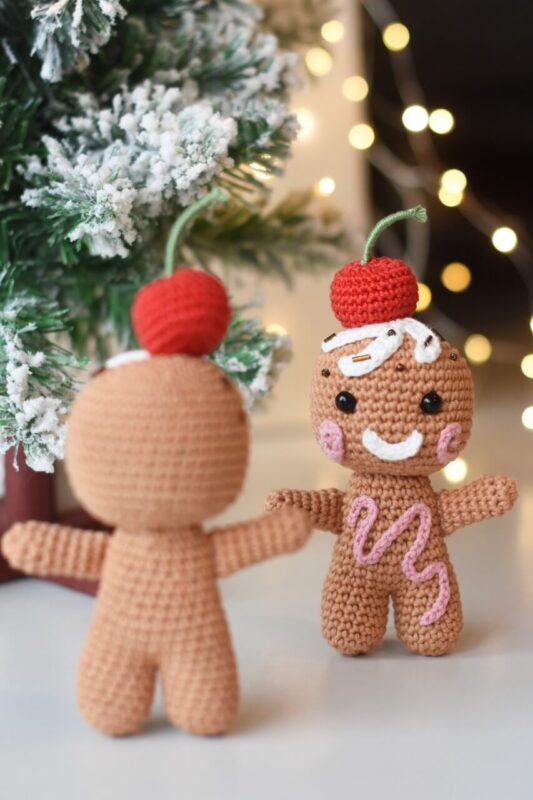
Inspired by classic gingerbread cookies, this amigurumi gingerbread man pattern is a perfect holiday project, loved for its simple yet charming design. You’ll learn how to turn a basic doll into a delightful Christmas treat, complete with “icing” details, a cheerful smile, and a cute cherry on top.
The pattern is accessible to crocheters of all skill levels, and its straightforward construction ensures it can be finished quickly.
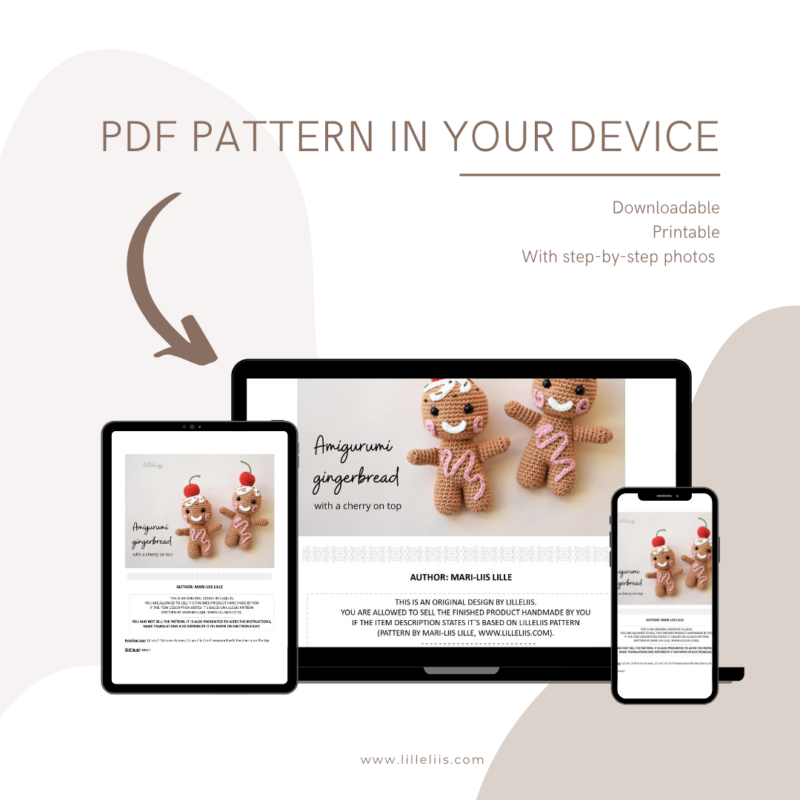
You can enjoy the free online version of this pattern, or, for more detailed guidance, purchase the affordable PDF pattern, which includes step-by-step photos to help you every step of the way.
Happy crocheting!

CHOOSE PATTERN LANGUAGE
Supplies you`ll need:
- Yarn: DK / 8 ply weight cotton in 3 colors – brown, white and pink. For example Rico Design Ricorumi DK (25 g / 57.5 m)
- Yarn: Sport / 5 ply weight cotton in 2 colors for the cherry – red and green. For example Schachenmayr Catania (50g / 125m)
- Crochet hook 2.5 mm
- Stitch marker
- Polyester fiberfill
- Black safety eyes (Ø 8 mm)
- Darning and embroidery needle
- Spangles (+ beading needle and thread for sewing)
Finished size: 17 cm / 6.7 in
Skill level: easy+
Stitches and abbreviations (US crochet terms):
Slip stitch (sl st), chain (ch), single crochet (sc), repeat (rep), stitch(es) – st(s)
About the pattern:
- Work in continuous rounds.
- Use a stitch marker and place it in the first stitch of the round to mark the beginning of it.
- Leave each piece a long tail for sewing.
HEAD
Crocheted from top to bottom.
1: Use brown yarn. Start 6 sc in a magic ring [6]
2: Work 2 sc in each st around [12]
3: (Sc in next st, 2 sc in next st) rep 6 times [18]
4: (Sc in next 2 sts, 2 sc in next st) rep 6 times [24]
5: (Sc in next 3 sts, 2 sc in next st) rep 6 times [30]
6: (Sc in next 4 sts, 2 sc in next st) rep 6 times [36]
7: (Sc in next 5 sts, 2 sc in next st) rep 6 times [42]
8-16: Sc in each st around
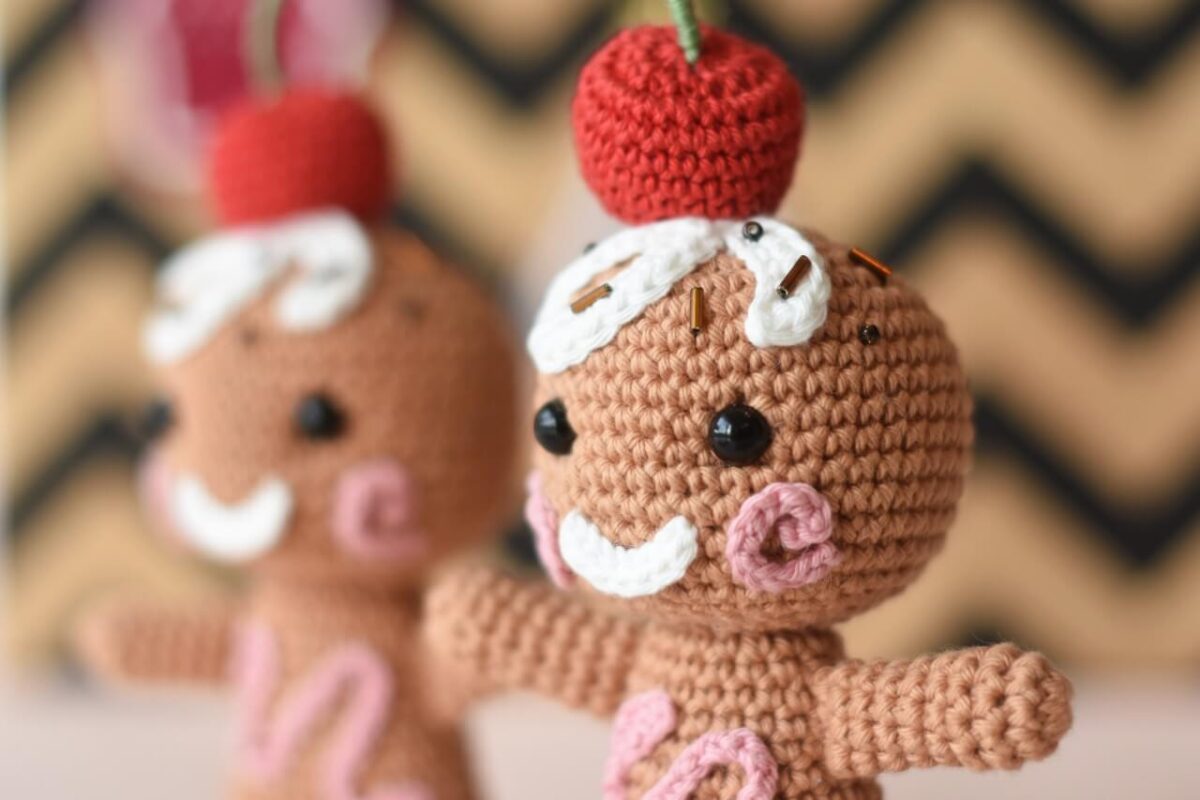
Fasten the safety eyes between rounds 11 and 12, with an interspace of 9 stitches.
17: (Sc in next 5 sts, sc2tog) rep 6 times [36]
18: (Sc in next 4 sts, sc2tog) rep 6 times [30]
Begin stuffing the head.
19: (Sc in next 3 sts, sc2tog) rep 6 times [24]
20: (Sc in next 2 sts, sc2tog) rep 6 times [18]
MOUTH
1: Ch 8 in white yarn. Starting in the second stitch from hook: sl st in each of the next 7 sts [7]
Sew curved onto the face.
HAIR
1: Ch 10 in white yarn. Starting in the second stitch from hook, sc in each of next 7 sts to form the first lock of hair (two stitches on the beginning chain will remain unworked). For the second lock of hair, chain 9, starting in the second stitch from hook, sc in each of next 8 sts. Sc in the next stitch on the beginning chain (one last stitch on the beginning chain will remain unworked). For the third lock of hair, chain 8, starting in the second stitch from hook, sc in each of next 7 sts. Sc in the last stitch on the beginning chain.
Attach the hair slightly ahead the magic ring on the top of the head, sew each lock of hair in place.
CHEEKS (MAKE 2)
1: Use pink yarn to work a chain of 14 tight stitches. Place spirally onto the face and sew in place with small unnoticeable stitches.
Want the gingerbread man to look even cuter?! Purchase a downloadable PDF pattern to learn how to easily shape the face.
A paid pattern has loads of photos to guide you through the whole making process. For your convenience, the pattern can be downloaded and printed.
CHERRY
1: Use red yarn. Start 6 sc in a magic ring [6]
2: Work 2 sc in each st around [12]
3: Work 2 sc in each st around [24]
4-9: Sc in each st around
10: Sc2tog around [12]
Stuff the piece. Weave the yarn through the front loops of all sts and pull tightly together. Fasten with a knot, keep the yarn tail for sewing.
For the cherry tail cut 2 strips of 40 cm / 16 in of green yarn. Pull them through the end of the cherry. Keep one third on one side, two thirds on the other side. Extract one of the longer tails. While holding the other 3 strongly together, start twisting the extracted yarn tail around the others. Twist by twist, move towards the tip of the cherry tail until it`s long enough. To close up, work the last twist a little looser, so that you can pull the yarn tail through the loop to form a knot. Cut the yarn tails short and sew the cherry on top of the head.
LEGS AND BODY
Make 2 legs with the instructions of round 1-8.
1: Use brown yarn. Start 6 sc in a magic ring [6]
2: Work 2 sc in each st around [12]
3: (Sc in the next 3 sts, 2 sc in next st) rep 3 times [15]
4-8: Sc in each st around
Do not fasten off the second leg, we will continue crocheting on this leg to make the body.
9: Sc in next 10 sts on the second leg, sc in next 15 sts on the first leg, sc in the last 5 sts on the second leg [30]
10: Sc in each st around [30]
Sew the hole between the legs closed, start stuffing the piece.
11: (Sc in the next 8 sts, sc2tog) rep 3 times [27]
12-13: Sc in each st around
14: (Sc in the next 7 sts, sc2tog) rep 3 times [24]
15-16: Sc in each st around
17: (Sc in the next 6 sts, sc2tog) rep 3 times [21]
18-19: Sc in each st around
20: (Sc in the next 5 sts, sc2tog) rep 3 times [18]
21: Sc in each st around
Sew the head together with the body.
ARMS (MAKE 2)
1: Use brown yarn. Start 9 sc in a magic ring [9]
2-8: Sc in each st around
Flatten and sew closed. Sew the arms to the body.
DECORATIONS
Add some sugar glaze to the body by making a chain about 15 cm / 6 in long in pink yarn. Place the chain in a zigzag onto the body and fasten with small unnoticeable stitches.
As the last step, sew some spangles around the cherry.
Hozzávalók, melyekre szükséged lehet:
- Fonal: DK / 8 ply pamut fonal 3 színben – barna, fehér és pink. Pédául: Rico Design Ricorumi DK(25 g / 57.5 m)
- Fonal: Sport / 5 ply pamut fonal 2 színben a cseresznyéhez – piros és zöld. Például Scheepjes Catona(50g / 125m)
- 5 mm-es horgolótű
- Szemjelölő
- Poliészter tömőanyag
- Fekete biztonsági szemek (Ø 8 mm)
- Stoppoló- és hímzőtű
- Flitter (+ gyöngyfűző tű és cérna a varráshoz)
Méret: 17 cm
Szint: könnyű+
Pálcák és rövidítések:
Hamispálca / kúszószem (hp), láncszem (lsz), rövidpálca (rp)
A mintáról:
- Folyamatos körökben dolgozunk
- Használj szemjelölőt és helyezd az első szembe, ezzel jelölve a kör kezdetét
- Hagyd hosszan a fonalat a varráshoz.
FEJ
Fentről lefelé horgoljuk.
1: Használj barna fonalat. Kezdd egy varázsgyűrűbe öltött 6 rp-val [6]
2: Horgolj minden szembe 2 rp-t [12]
3: (rp a köv. szembe, 2 rp a köv. szembe) ism 6-szor [18]
4: (rp a köv. 2 szembe, 2 rp a köv. szembe) ism 6-szor [24]
5: (rp a köv. 3 szembe, 2 rp a köv. szembe) ism 6-szor [30]
6: (rp a köv. 4 szembe, 2 rp a köv. szembe) ism 6-szor [36]
7: (rp a köv. 5 szembe, 2 rp a köv. szembe) ism 6-szor [42]
8-16: rp minden szembe
Helyezd a biztonsági szemeket a 11. és 12. körök közé, egymástól 9 szem távolságra.
17: (rp a köv. 5 szembe, fogy) ism 6-szor [36]
18: (rp a köv. 4 szembe, fogy) ism 6-szor [30]
Kezdd a fej tömését.
19: (rp a köv. 3 szembe, fogy) ism 6-szor [24]
20: (rp a köv. 2 szembe, fogy) ism 6-szor [18]
SZÁJ
1: 8 lsz fehér fonallal. Kezdd a horgolótűtől számított második szemtől: hp a köv. 7 szembe [7]
Varrd fel görbén az arcára.
HAJ
1: 10 lsz fehér fonallal. Kezdd a horgolótűtől számított második szemtől, rp a köv. 7 szembe, ezzel megformáztad a haj első tincsét (két szem a láncsor elején feldolgozatlanul marad). A második hajtincsnél: 9 lsz, kezdd a horgolótűtől számított második szemtől, rp a köv. 8 szembe. Rp a kezdő láncsor köv. szemébe (egy utolsó szem a kezdő láncsornál feldolgozatlanul marad). A harmadik tincsnél: 8 lsz, kezdd a horgolótűtől számított második szemtől, rp a köv. 7 szembe. Rp a kezdő láncsor utolsó szemébe.
Illeszd a hajat picivel a varázsgyűrű elé a fej tetejére és varrd mindegyik hajtincset a helyére.
ORCA (készíts kettőt)
1: Használj pink fonalat és 14 lsz-et készíts szorosan horgolva. Helyezd a fejre spirál alakban és varrd a helyére pici láthatatlan öltésekkel.
Szeretnéd, ha a mézeskalács emberkéd még cukibban nézne ki?!
Fizess elő a letölthető PDF mintára, hogy megtanuld, hogyan lehet könnyen megformázni az arcát.
A fizetős minta rengeteg fotót tartalmaz, amely keresztülvezet az egész folyamaton. A nagyobb kényelemért a minta letölthető és ki is nyomtatható.
CSERESZNYE
1: Használj piros fonalat. Kezdd 6 rp-val a varázsgyűrűbe öltve [6]
2: 2 rp minden szembe [12]
3: 2 rp minden szembe [24]
4-9: rp minden szembe
10: Fogy végig [12]
Tömd ki a darabot. Fűzd a fonalat minden szem első hurkába és húzd szorosra. Zárd le egy csomóval, hagyd hosszan a fonalat a varráshoz.
A cseresznye szárához vágj két 40 cm hosszú fonalat zöld színből. Húzd át a cseresznye végén. Tartsd a fonal egyharmadát az egyik, két harmadát a másik oldalon. Húzd ki az egyik fonalvéget. Míg erősen tartod a másik 3 szálat, kezdd el a kihúzott fonalat a többi köré tekerni. Csavarás közben mozgasd a cseresznye csúcsa irányába, amíg elég hosszú nem lesz. Lezárásnál az utolsó csavarást hagyd lazábbra, hogy át tudd húzni a fonalat a hurkon és csomót tudj formázni belőle. Vágd rövidre a fonalvéget és varrd a cseresznyét a fejére.
LÁBAK ÉS TEST
Készíts két lábat a minta 1-8 körének útmutatása alapján.
1: Használj barna fonalat. Kezdd 6 rp-val a varázsgyűrűbe [6]
2: 2 rp minden szembe [12]
3: (rp a köv. 3 szembe, 2 rp a köv. szembe) ism 3-szor [15]
4-8: rp minden szembe
Ne zárd le a második lábat, innen folytatjuk a testtel.
9: rp a köv. 10 szembe a második lábra, rp a köv. 15 szembe az első lábra, rp az utolsó 5 szembe a második lábra [30]
10: rp minden szembe [30]
Varrd össze a két láb között keletkezett lyukat és tömd ki a darabot.
11: (rp a köv. 8 szembe, fogy) ism 3-szor [27]
12-13: rp minden szembe
14: (rp a köv. 7 szembe, fogy) ism 3-szor [24]
15-16: rp minden szembe
17: (rp a köv. 6 szembe, fogy) ism 3-szor [21]
18-19: rp minden szembe
20: (rp a köv. 5 szembe, fogy) ism 3-szor [18]
21: rp minden szembe
Varrd össze a fejet a testtel.
KAR (készíts kettőt)
1: Használj barna fonalat. Kezdd 9 rp-val a varázsgyűrűbe [9]
2-8: rp minden szembe
Lapítsd ki és varrd össze. Varrd a karokat a testhez.
DEKORÁCIÓK
Adj a testre egy kis cukorbevonatot, készíts 15 cm hosszú láncsort rózsaszín fonalból. Helyezd cikkcakk formában a testre és pici láthatatlan öltésekkel varrd oda.
Utolsó lépésként varrj a cseresznye köré néhány flittert.

WANT TO CREATE MORE CHRISTMAS MAGIC?
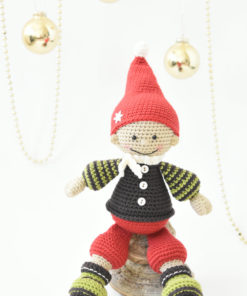
This product has multiple variants. The options may be chosen on the product page
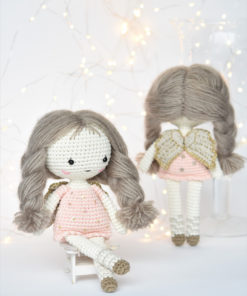
This product has multiple variants. The options may be chosen on the product page
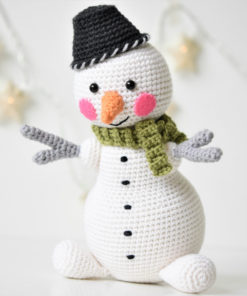
This product has multiple variants. The options may be chosen on the product page
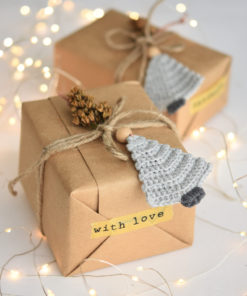
This product has multiple variants. The options may be chosen on the product page

This product has multiple variants. The options may be chosen on the product page