Click Here to Subscribe and receive a Free Bonus Pattern


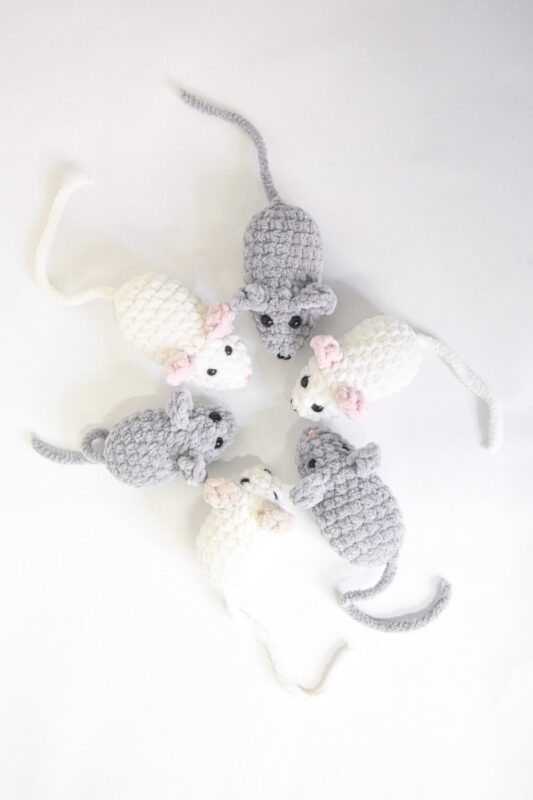
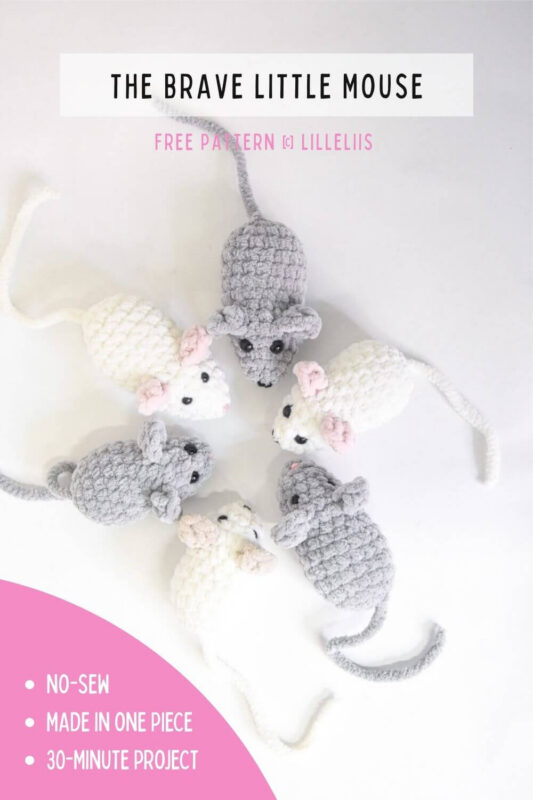
THE BRAVE LITTLE MOUSE
Free Amigurumi Pattern by lilleliis
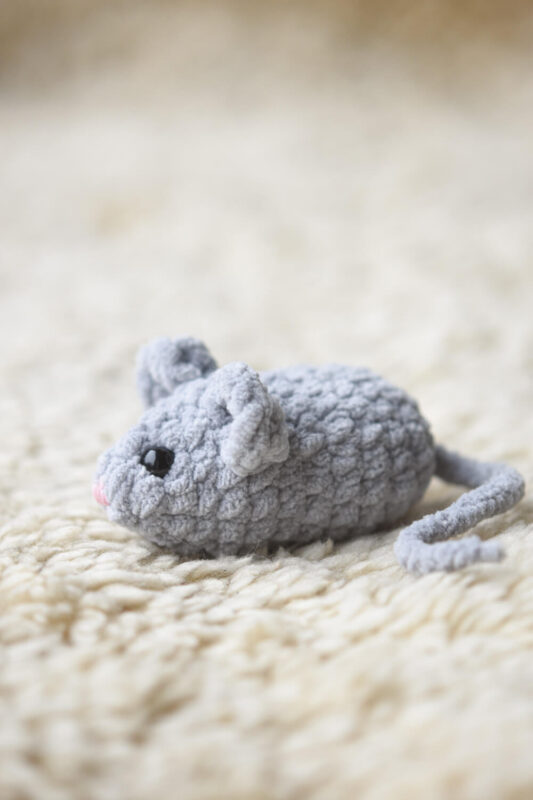
The Brave Little Mouse is an incredibly easy and fun crochet project! The mouse is worked in one piece, and apart from embroidering the nose, there’s absolutely no sewing involved. Yes, you heard that right – it`s a NO-SEW pattern :)
The mouse is crocheted from soft chenille yarn. If you insert a squeaker inside, the mouse will make a sweet squeaky sound when squeezed – children love that!
The simplest version of the mouse is single-colored. For a two-colored one, you can crochet the tail and/or ears in a different shade. To do this, switch the yarn at the end of the tail before starting the single crochets. Do the same with the ears – change the yarn before you begin crocheting the ear and carry the contrasting yarn along until you finish the second ear. After that, you can cut the yarn.
The Brave Little Mouse is for everyone who needs a tiny helper and supporter in their life. Slip it into your pocket and squeeze it whenever you need encouragement. The little mouse will be there for you when you go to the doctor for an uncomfortable procedure or have a stressful performance in front of others.

Supplies you`ll need:
- bulky chenille yarn, for example Chenillove (100 g / 110 m)
- 4 mm crochet hook
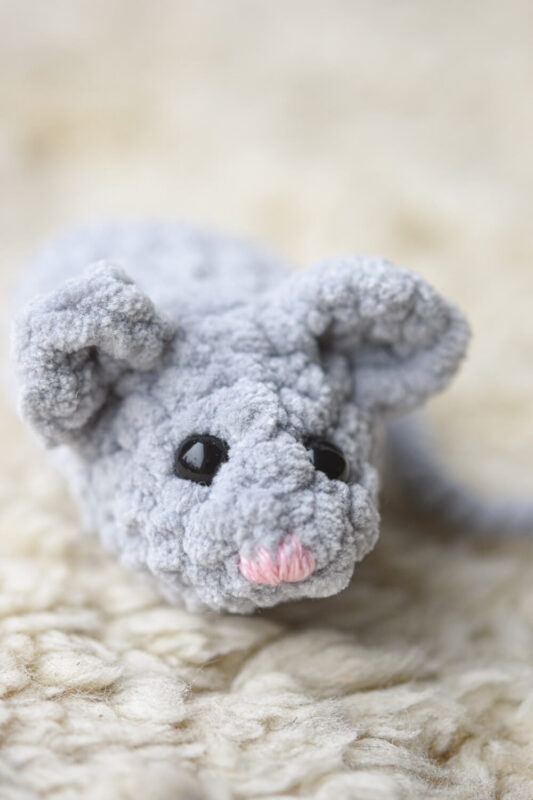
- safety eyes (6 or 8 mm)
- polyester fiberfill
- squeaker (35 mm) – optional
- cotton yarn for the nose
- darning needle
Finished size: 10 cm / 4 in
Skill level: easy
Stitches and abbreviations (US crochet terms):
Magic ring, slip stitch (sl st), chain (ch), single crochet (sc), double crochet (dc), repeat (rep), stitch(es) – st(s)
About the pattern:
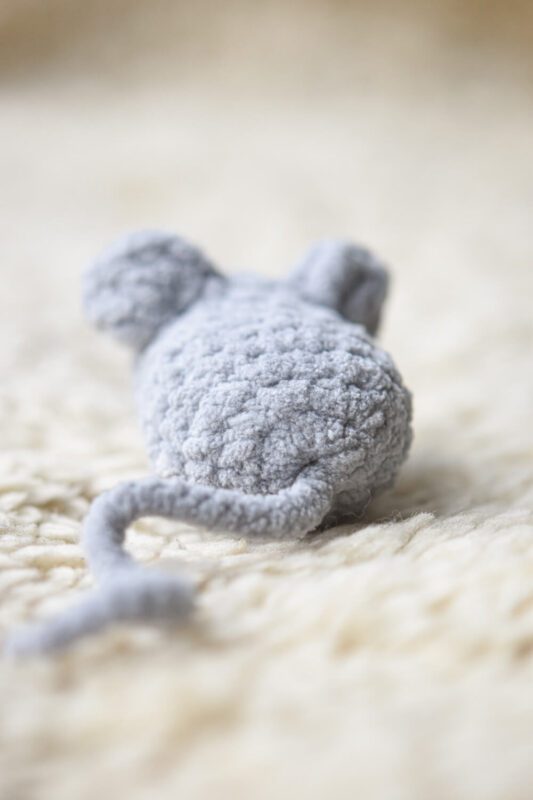
- The mouse is crocheted in one piece, starting from the tail and finishing at the nose.
- It is worked in continuous rounds, without joining at the end of each round.
- Use a stitch marker or a short piece of yarn to mark the beginning of each new round.
START WITH THE TAIL
Crochet a tight chain of stitches, about 12–13 cm long, or as long as you’d like the tail to be. At the end, add 2 looser chain stitches. Cut off the starting yarn end.
Do not fasten off the yarn – continue straight on with the body.
CONTINUE WITH THE BODY
1: Work 6 sc in the second stitch from hook [6]
Leave the tail on the right side of the work and continue crocheting in rounds. Mark the first stitch of the next round with a stitch marker.
2: 2 sc in each st around [12]
3: (Sc in next st, 2 sc in next st) rep 6 times [18]
4-6 (3 rounds): Sc in each st around [18]
7: (Sc in next 4 sts, sc2tog) rep 3 times [15]
8: Sc in each st around [15]
9: Sc in next 5 sts. For the first ear, crochet into the front loop of the next stitch: sc + ch + 3 dc + ch + sc. Continue 3 sc along the main piece. For the second ear, crochet into the front loop of the next stitch: sc + ch + 3 dc + ch + sc. Continue 5 sc along the main piece [13 sc + 2 ears]
10: Sc in next 5 sts, sc in the back loop of the first ear that was previously left out of the work, sc in next 3 sts between the ears, sc in the back loop of the second ear that was previously left out of the work, sc in next 5 sts [15]
Insert a squeaker if you want the mouse to make a sound. If not, then just stuff it with fiberfill.
11: (Sc in next 3 sts, sc2tog) rep 3 times [12]
12: Sc in each st around [12]
Stuff the head with fiberfill.
13: (Sc in next 2 sts, sc2tog) rep 3 times [9]
Attach the eyes in the appropriate position between the last two rounds. Secure the safety eyes from the inside of the work. If needed, add a bit more stuffing before the final round.
14: (Sc in next st, sc2tog) rep 3 times [6]
Fasten off the yarn, leaving only a short tail to close the opening. To do this, thread the yarn through all the front loops of the last round and pull tightly. Tie a knot and hide the yarn tail.
FINISH WITH THE NOSE
Stitch the nose with cotton yarn.

Hi, I'm Mari-Liis
The designer behind lilleliis crochet patterns.
I love creating amigurumi toys and spreading the joy of crochet.
Most Loved Free Crochet Patterns
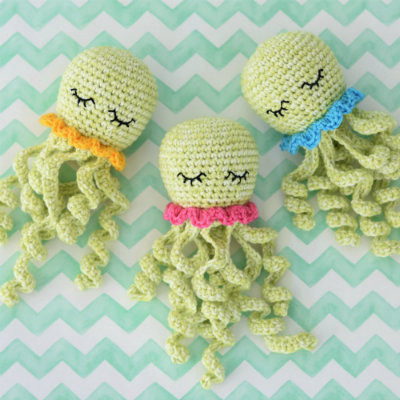
Amigurumi Octopus

Amigurumi Heart
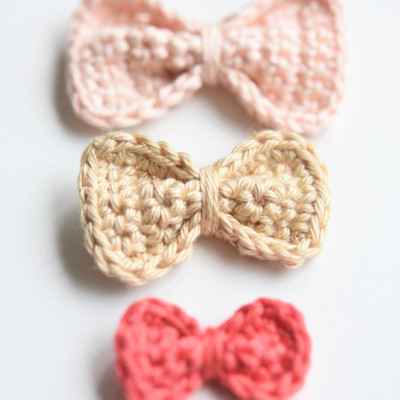
Crochet Bow in 3 Sizes