

Tips and tricks
Adding fabric to amigurumi
Nov
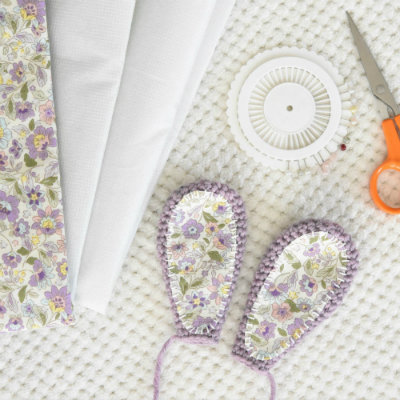
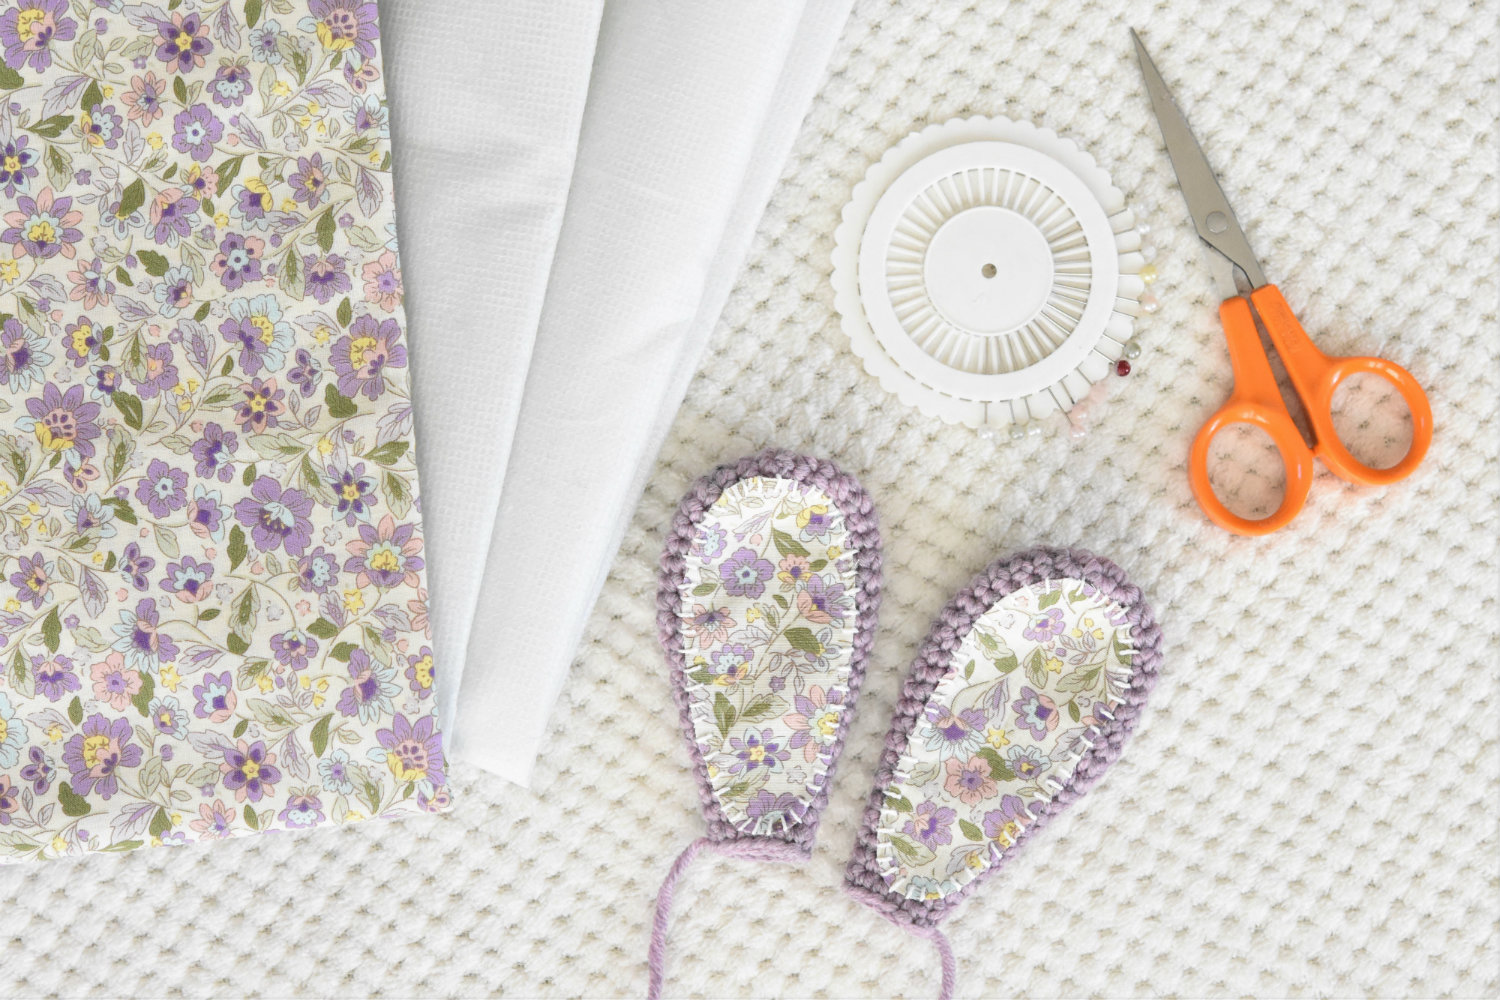
I have always loved covering my amigurumi animals ears and feet with fabric or adding cute shapes on the tummy. During the years I have discovered a few important things to keep in mind when adding fabric and in today`s step-by-step photo tutorial I will show you how I do it.
The thing that most people have trouble with is fraying, so all my tips are about how to avoid fraying.
But first let`s talk about what kind of a fabric to pick.
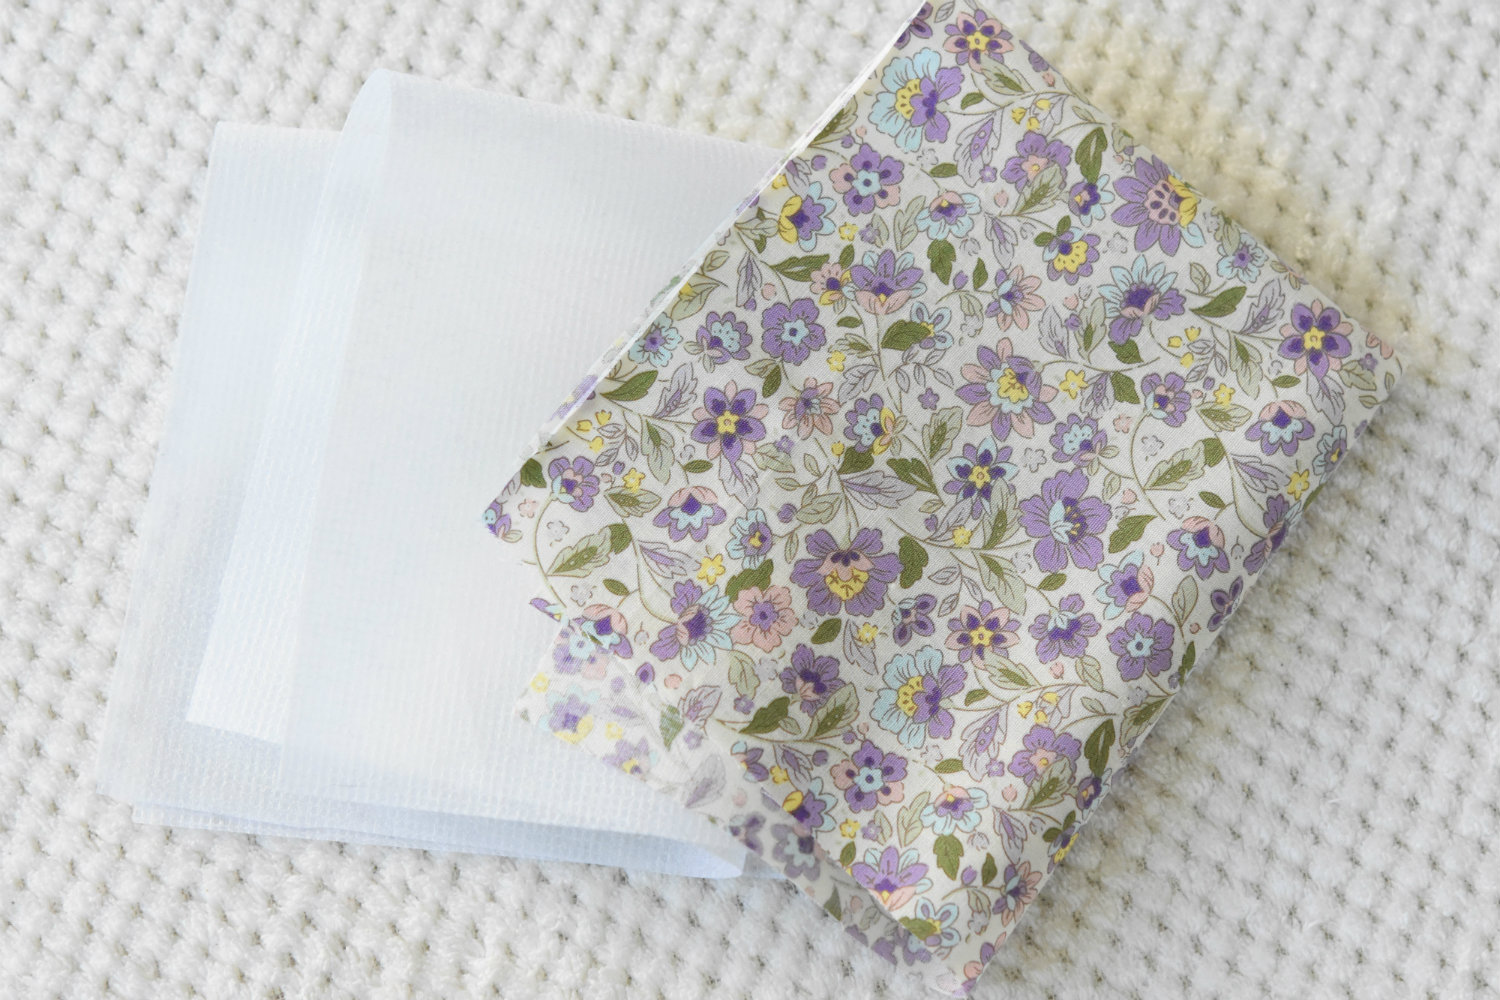
- I advise to use small print fabric. The patches you add are really small and this way the beauty of the pattern will show the most.
- In my opinion cotton fabric is the best, because it`s smooth, durable, skin friendly and easy to cut.

Now that you have chosen the fabric you want to use, here are the
3 important things to avoid fraying
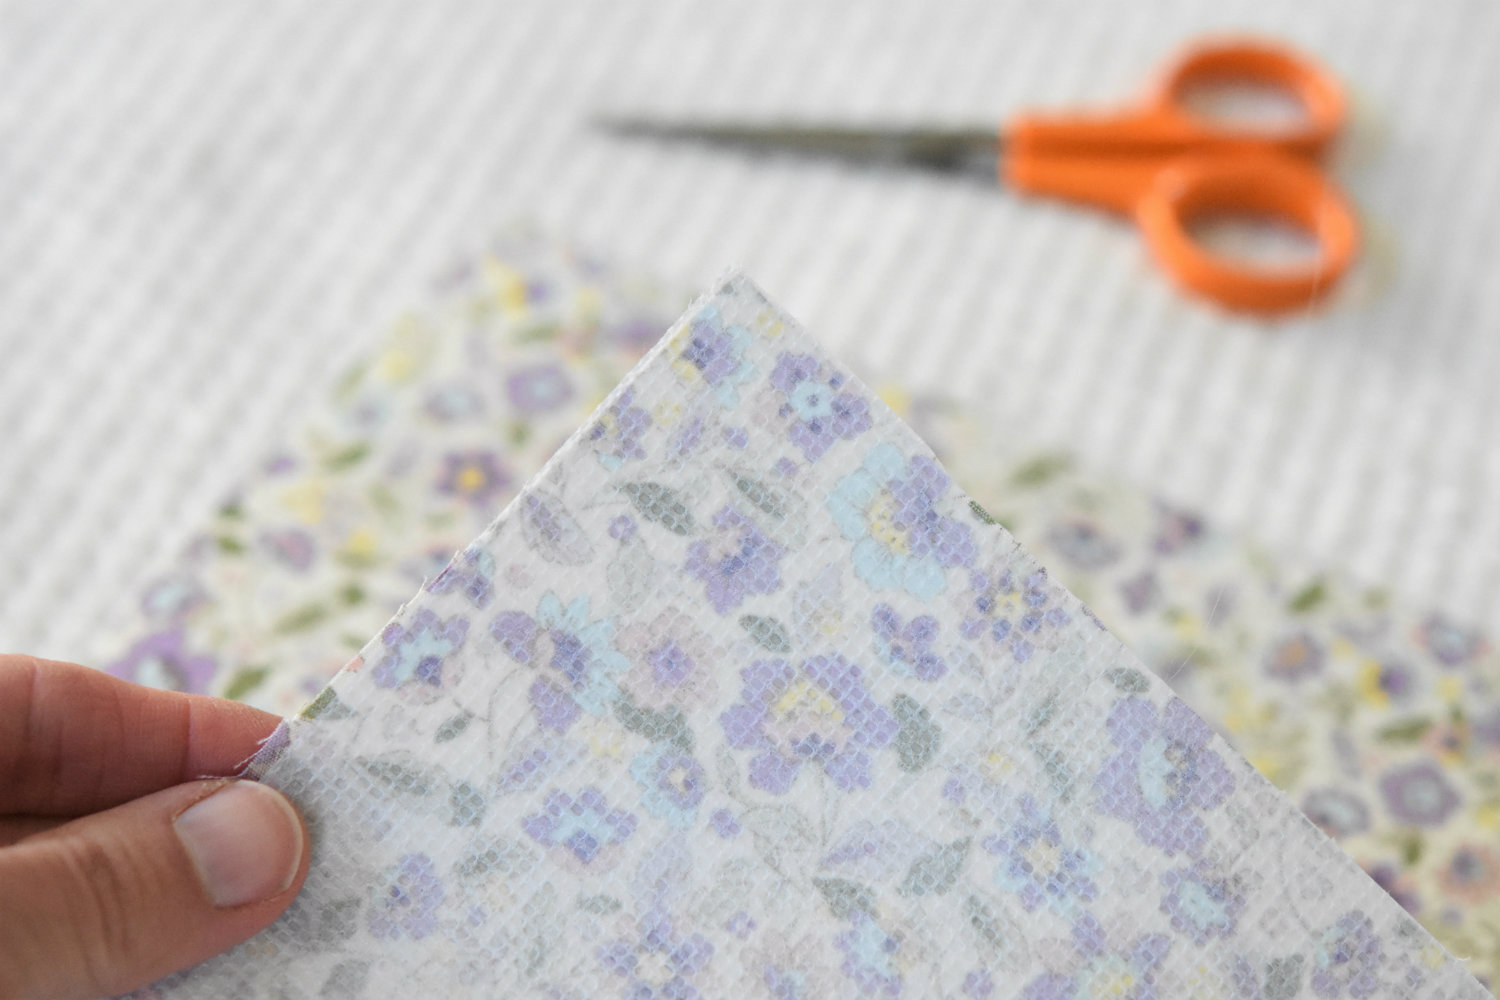
1. ADHESIVE FABRIC
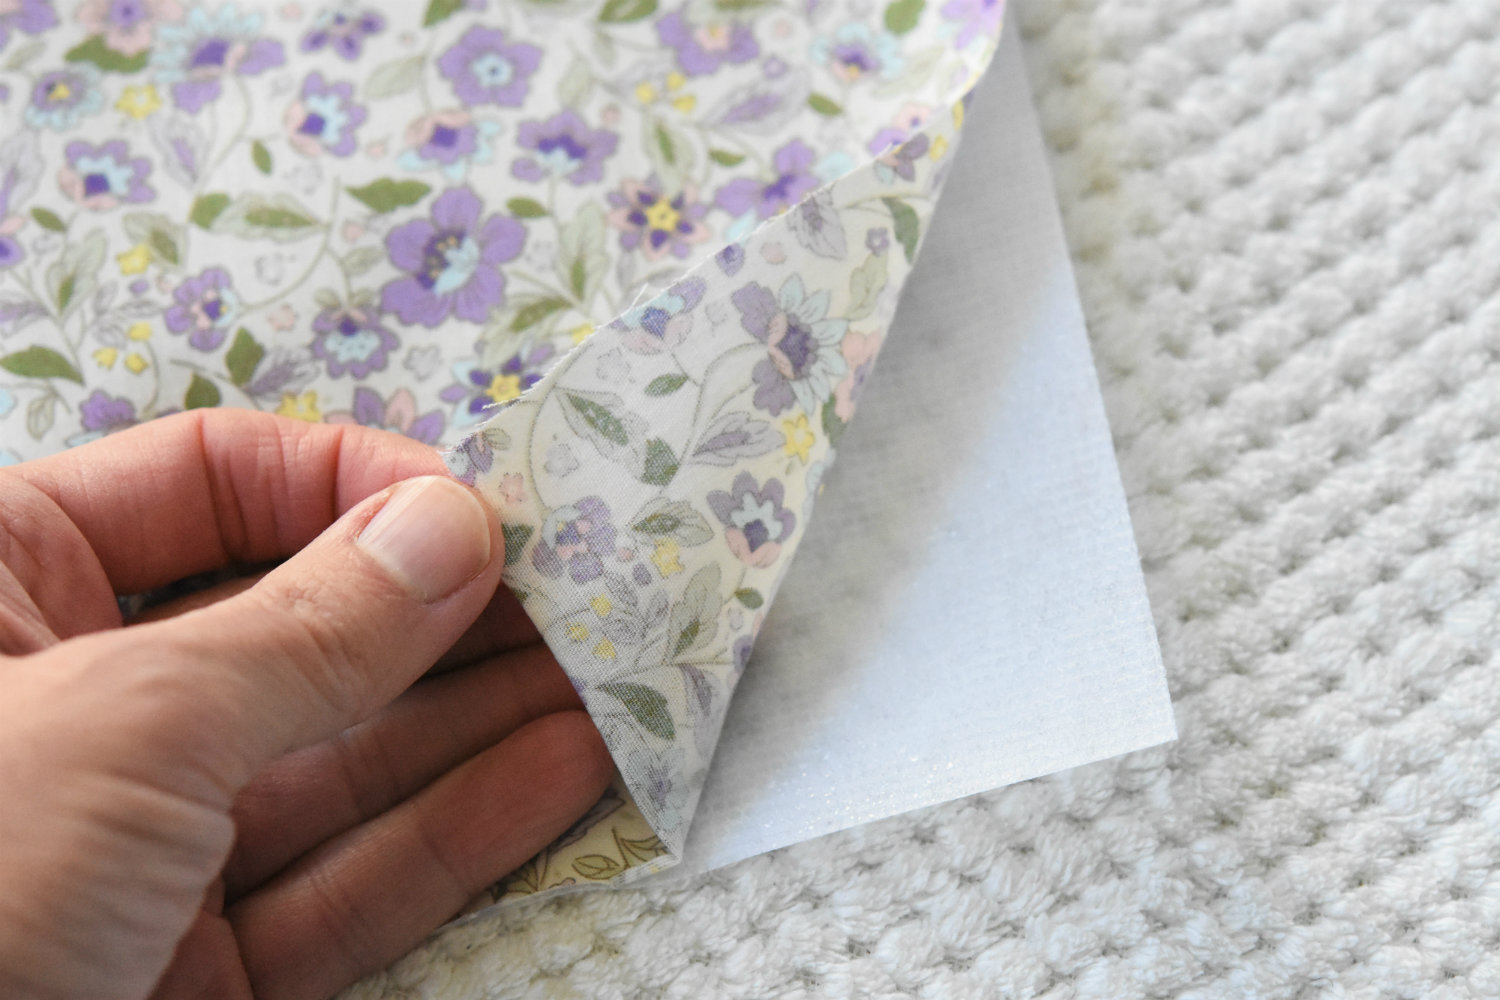
Make the fabric stronger and less fraying by glueing adhesive fabric underneath it.
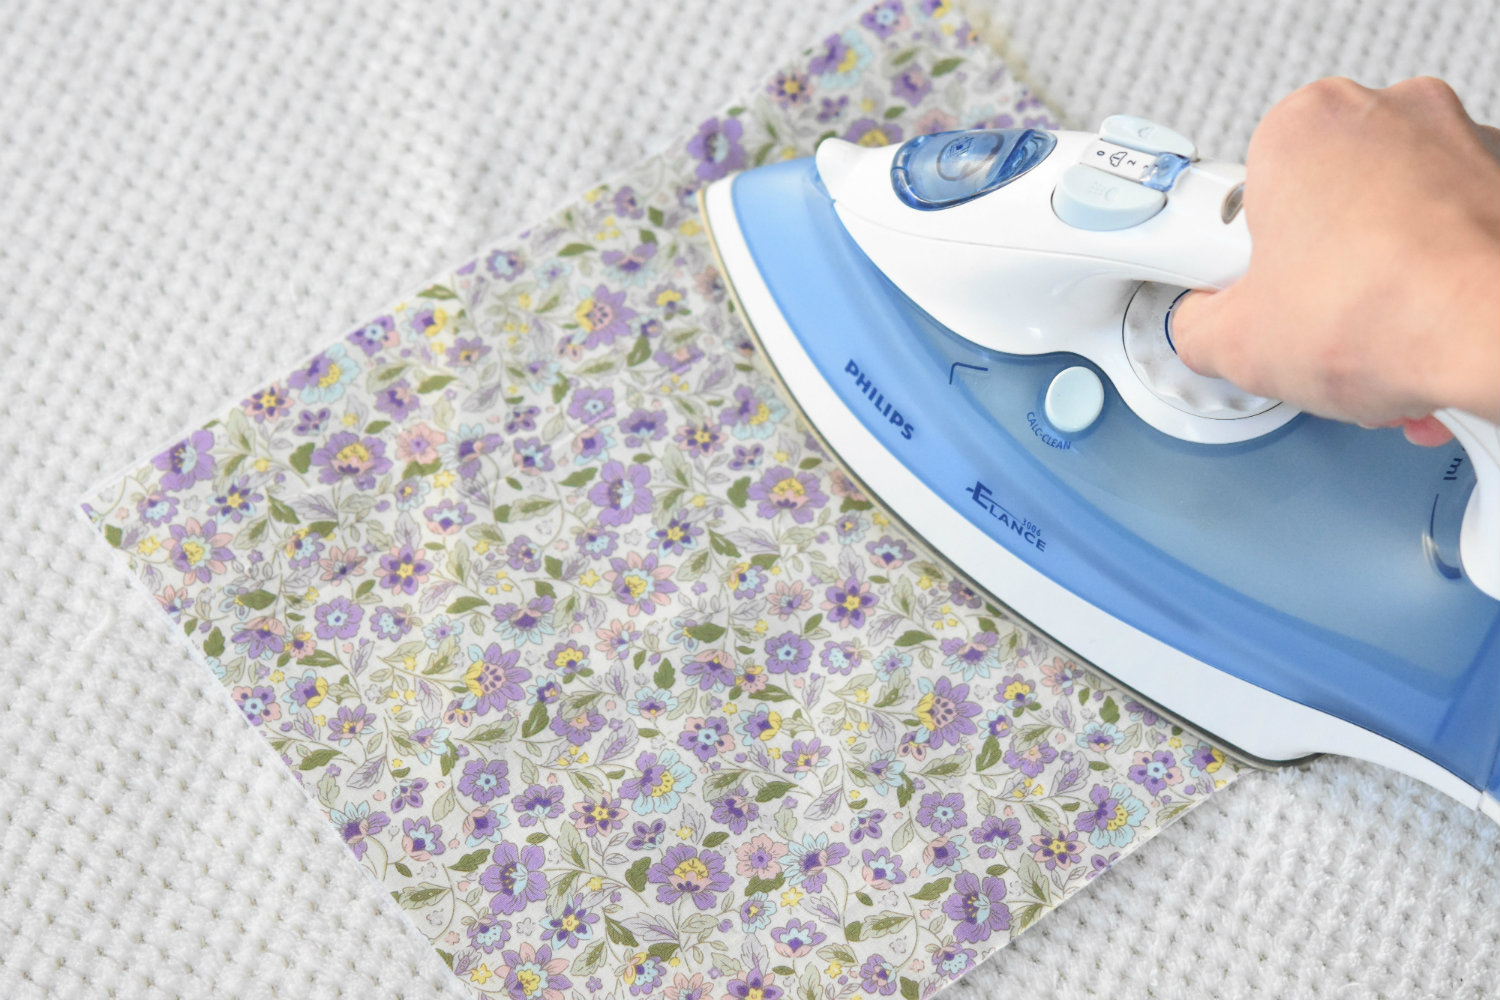
Cut a rectangle of the same size of both fabrics. Put the patterned fabric onto the adhesive one (glued side facing the wrong side of the main fabric) and iron them together.
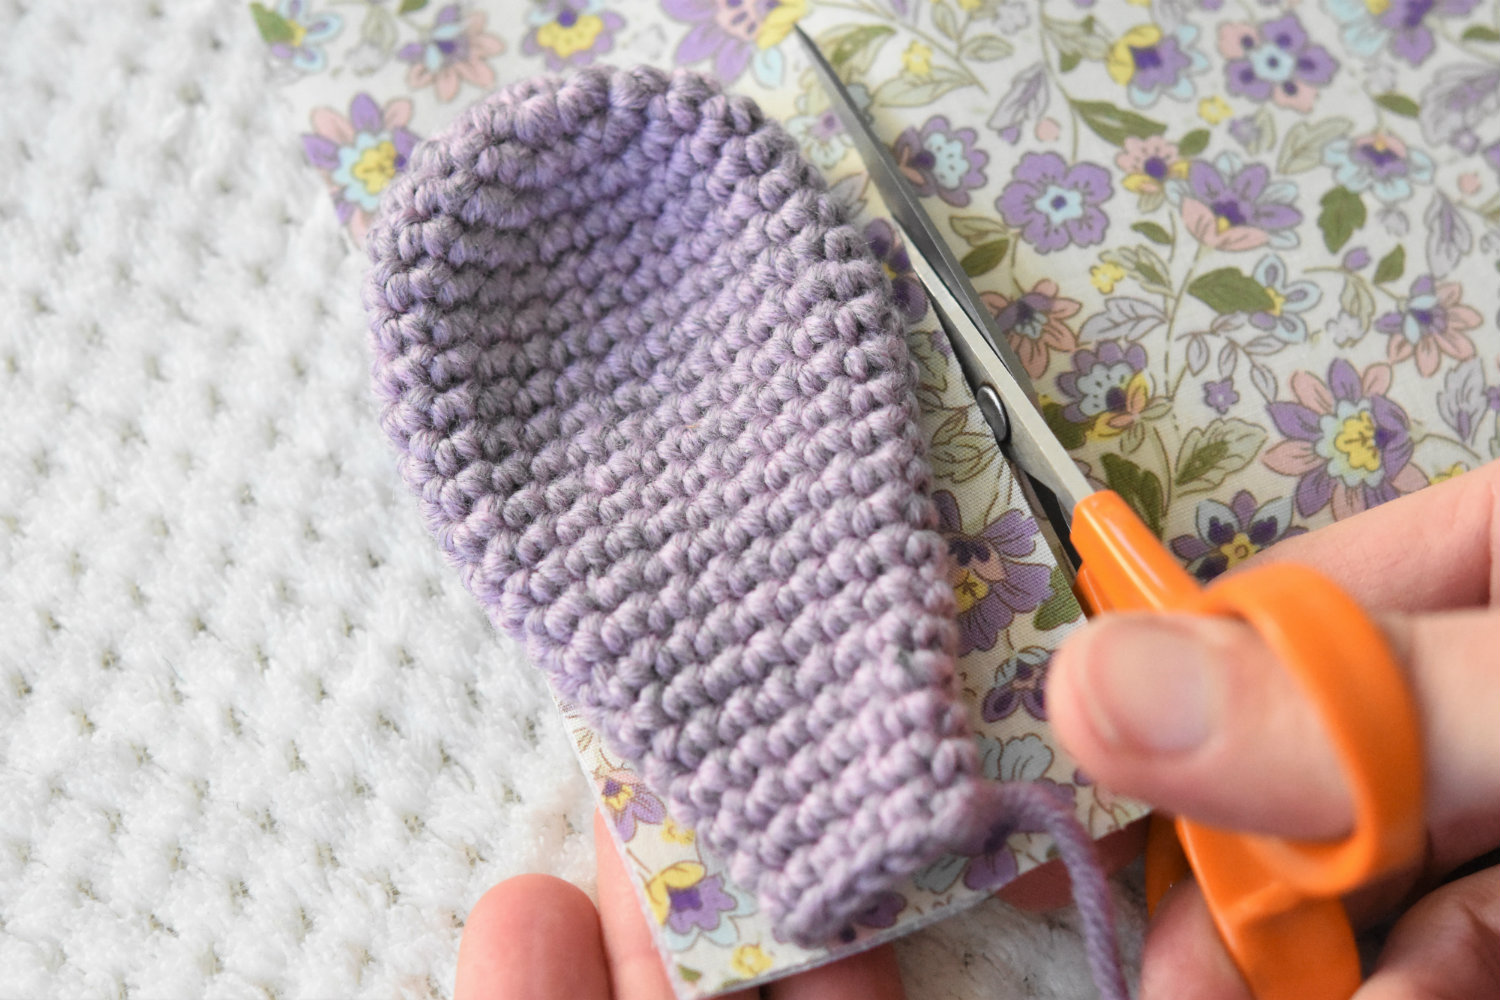
2. SHARP SCISSORS
Now you need to cut the patches. Keep in mind that you need sharp scissors for doing that. And this is no joke! Blunt scissors will ruin the edges of the fabric and then it`s almost impossible to avoid fraying.
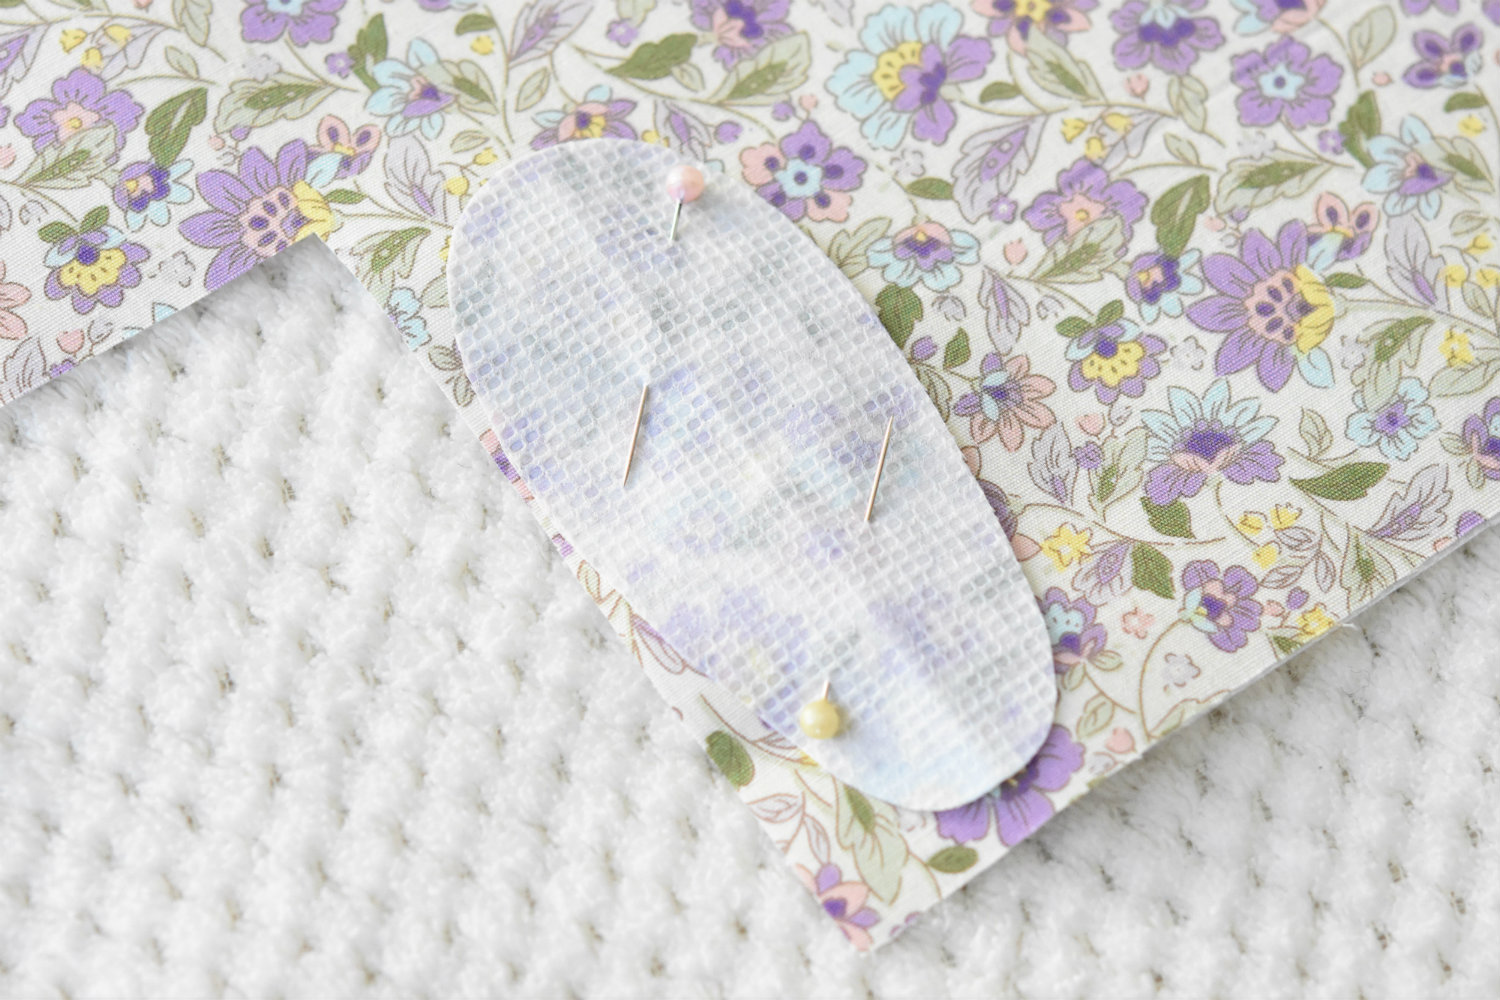
Following the shape of the ear / feet cut a rectangle and then give it the right shape. It`s easier to achieve symmetrical shape if folding the piece together.
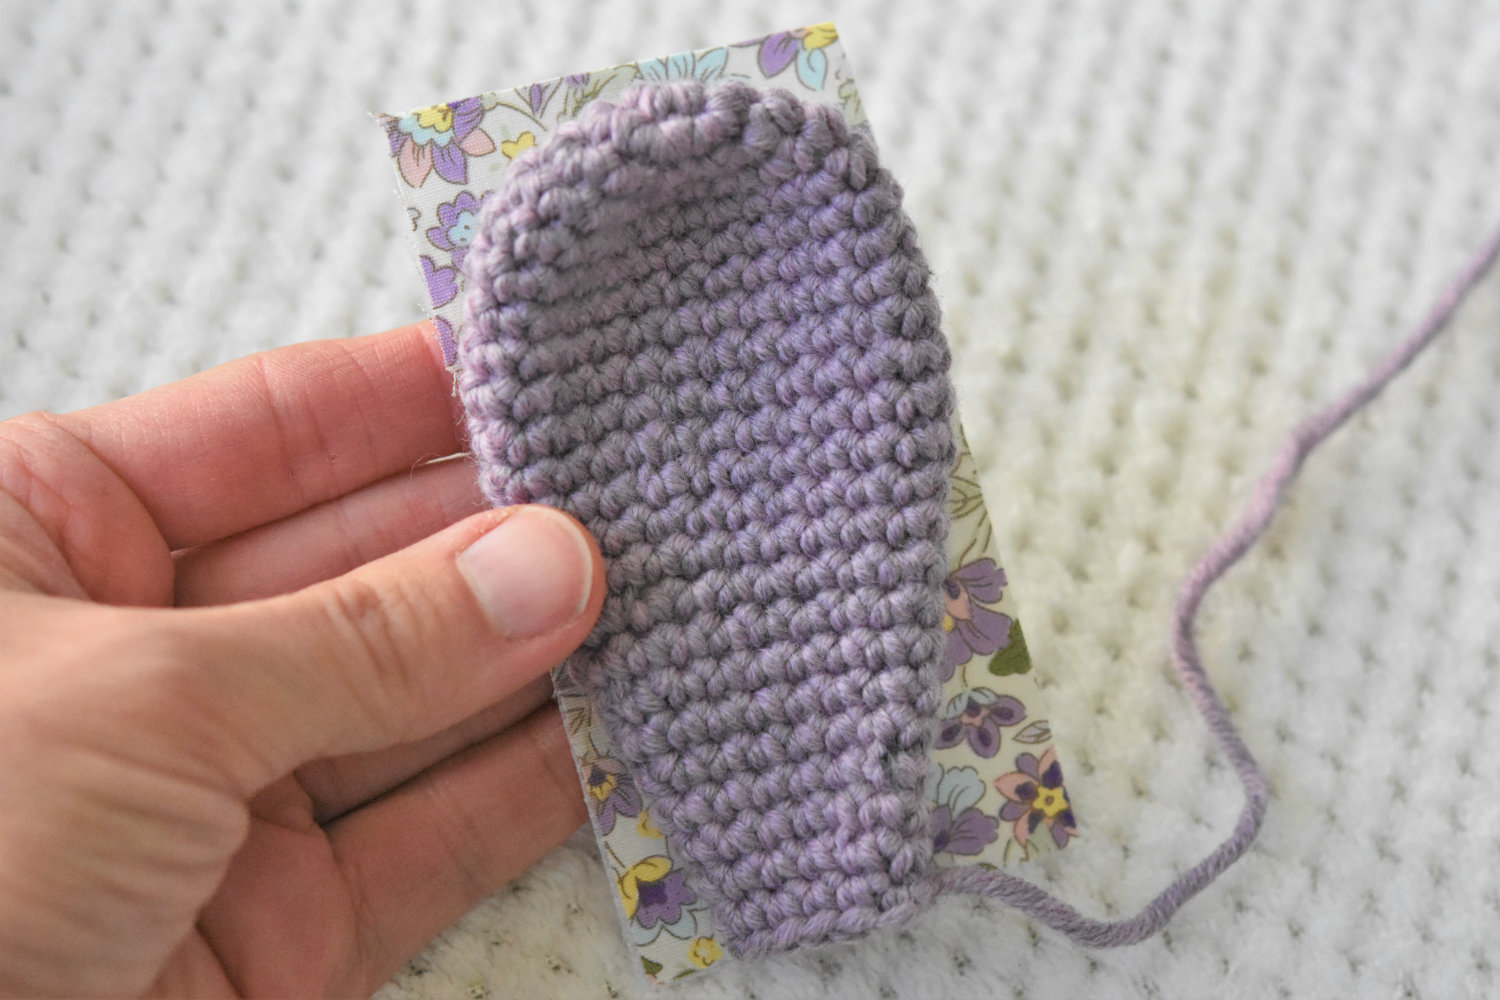

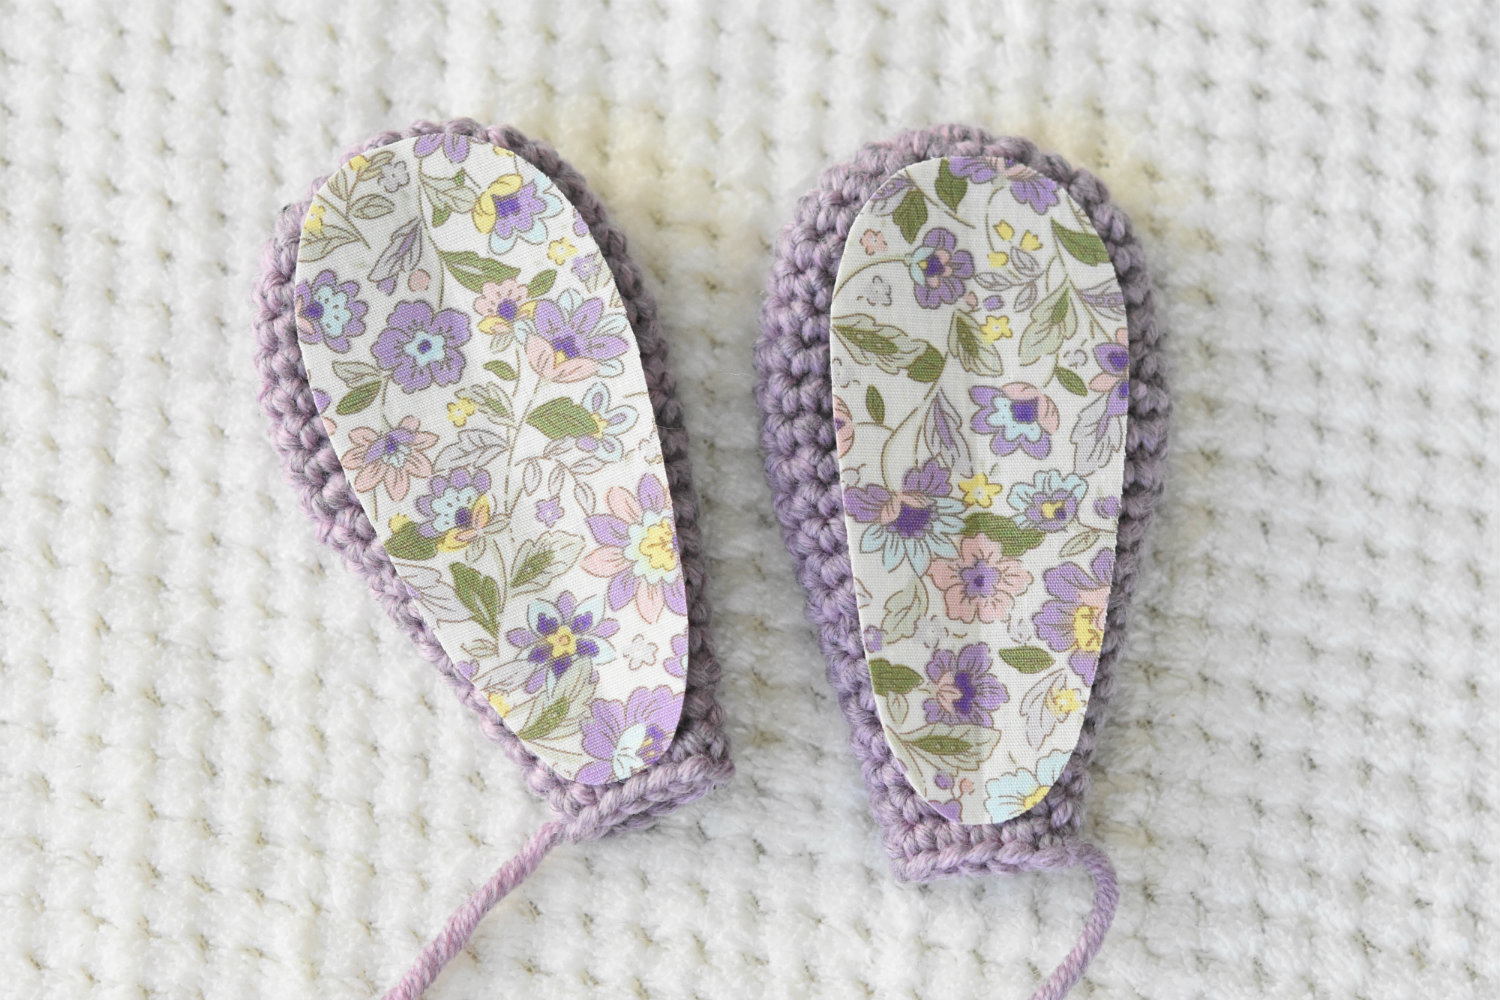
If you need 2 patches, then place the first one onto the fabric right sides facing together and fix with pins. Cut out another patch using the first one as a stencil.
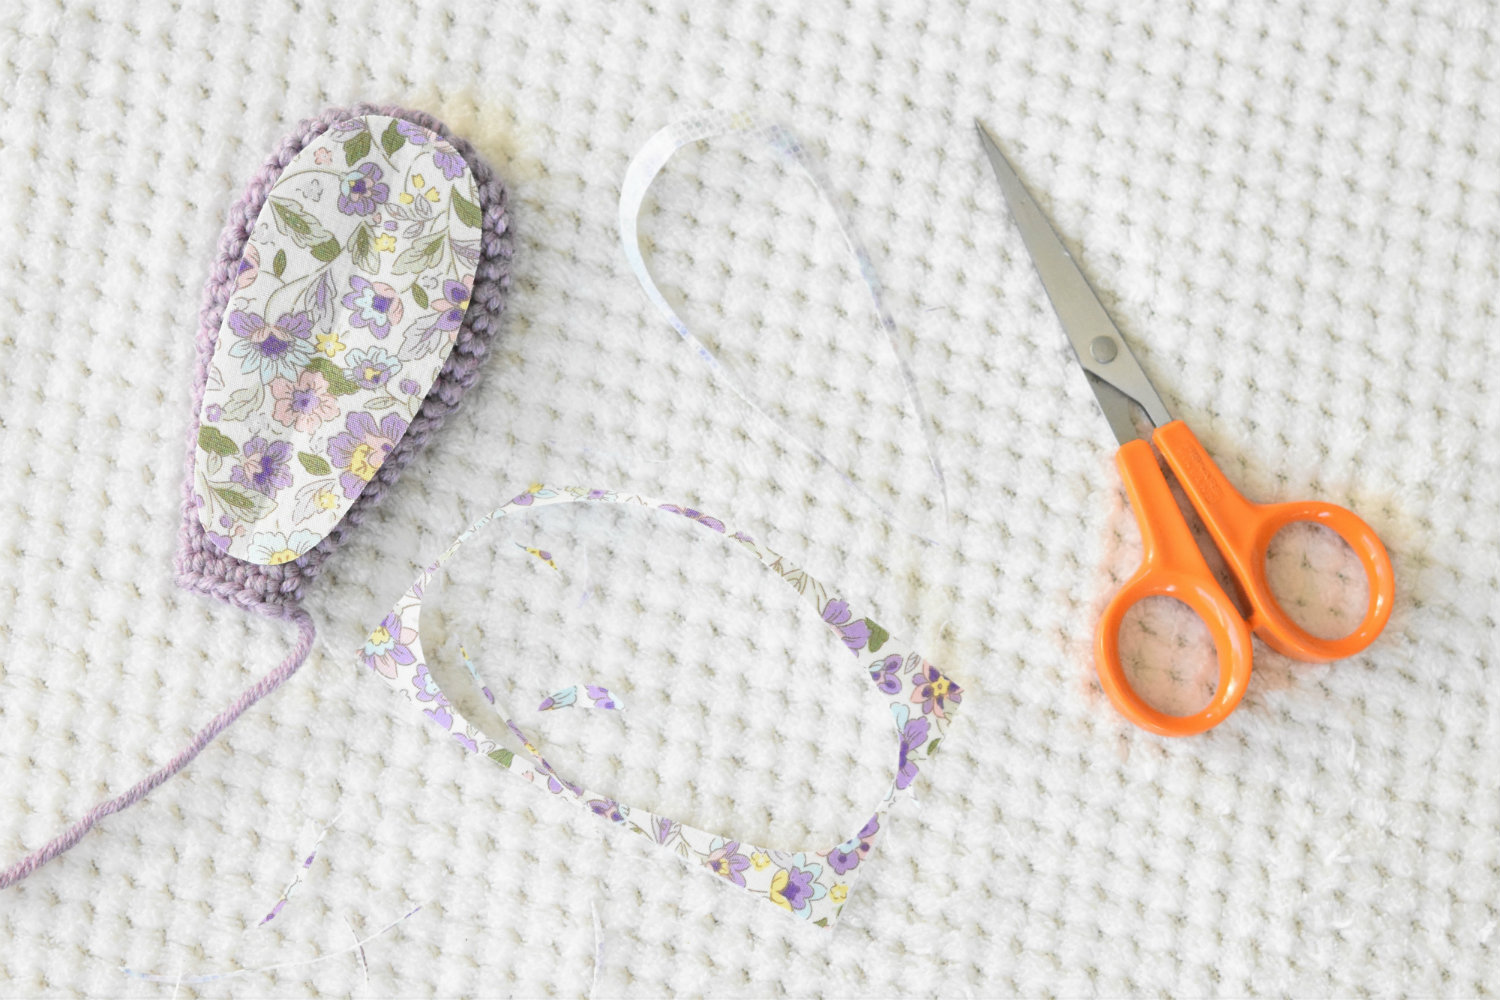
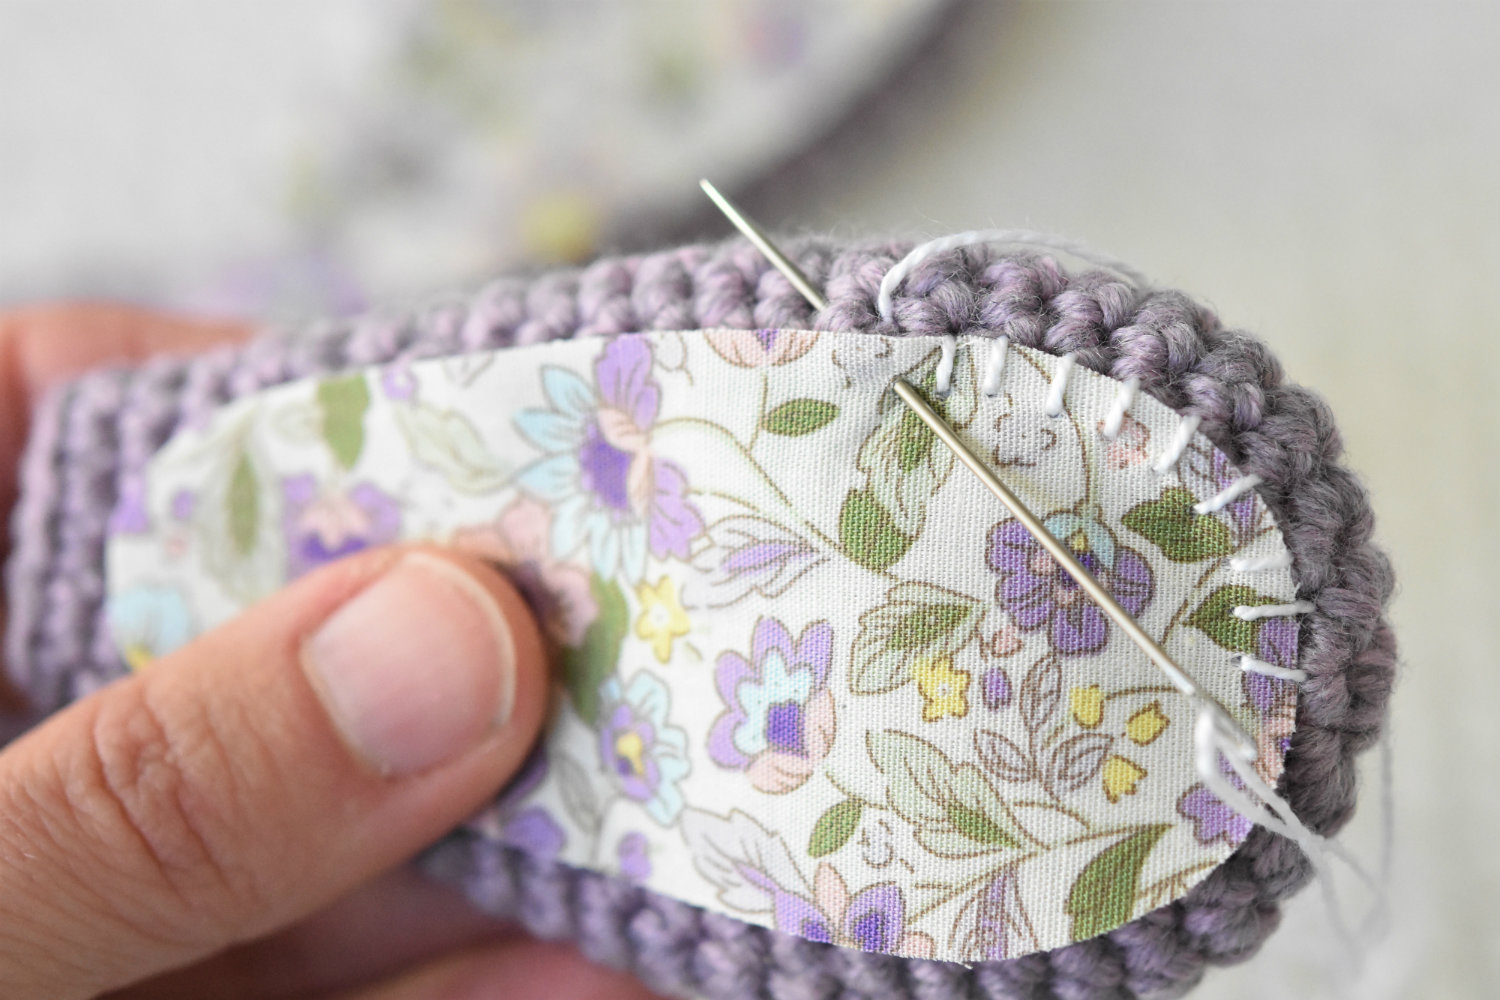
3. SEW OVER THE EDGE
As a last thing sew the patches onto the amigurumi pieces. It`s best to sew over the edge. My favourite is the simplest overcast stitch, but you may use the blanket stitch as well.
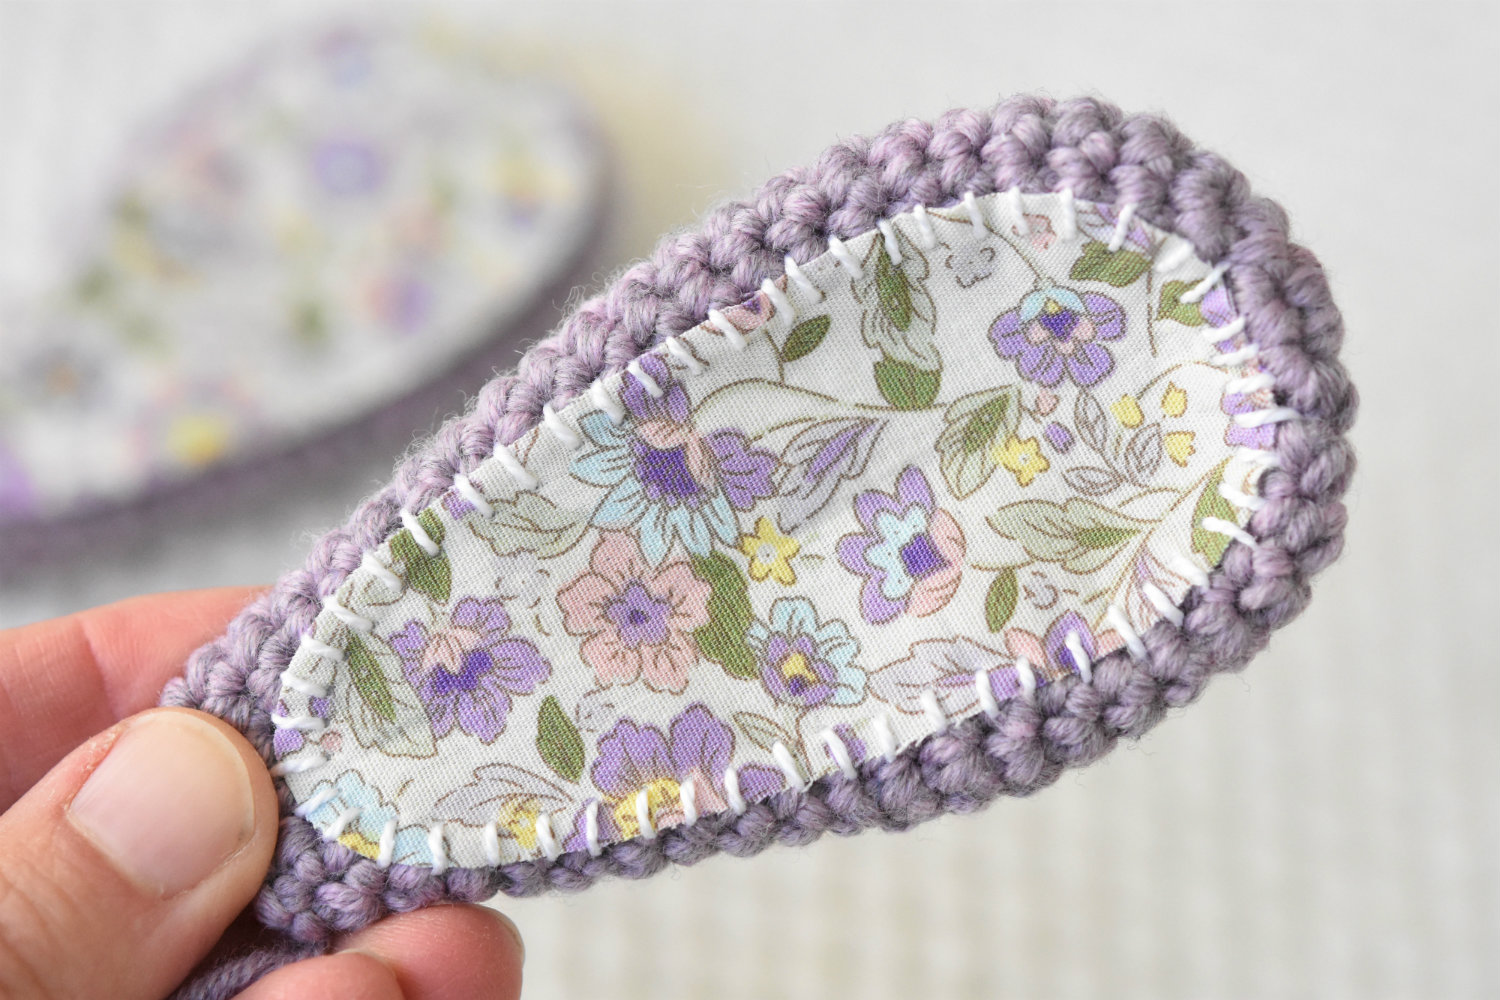
And you`re done! So keep in mind: adhesive fabric, sharp scissors and sewing over the edge will help you to achieve the best result.
Just what I was looking for…..how to stop the fabric fraying….I also love the fabric on ears etc……so thus advice was wonderful.
Thanks Marii
Thank you so much and enjoy making the toys and using the tips. I don’t sell I give my toys to charity every christmas. I taught myself to crochet doilies with diagrams and later on start to ctochet toys by reading teachings on how to read patterns on Pinterest. Now I have a ball crocheting amigurumi toys. Thanks you so much for taking the time to show other crocheters tios and how to…
Thank you, Leza! Just like you, I am a self taught crocheter too. I think it`s important to share what we`ve learned and discovered with others. And it makes me happy to know that you value the tutorials.
Thank you Lilleliis so much. I’ve been looking for a way to do it right. Much love from Egypt Xxx
Amazing! Your amigurumis are sooo adorable! Thanks from Rio de Janeiro, Brasil! 🇧🇷
Thanks, for the tips especialy the one withe the adhesive fabric! I used to use that for sewing clothes but never tought to use it here, its realy an eyeopener for me! Love your patterns, great fan! They come of the pen exactly as on the fotos, easy to follow, they are cute and lovely! Have your books and again thank you for sharing with us♥️
Thank you so much for these tips, can’t wait to try it :)
Thanks for posting about the fabric adhesive. I have never thought to do that. I use cotton fabric but have not really been concerned about the fraying of the fabric due to the stitch that is used to sew it to the crochet piece. I will do this from now on.
Thank you! To make my stitches even I make 2 small marks on the side of my thumb with an ink pen. After making my first stitch I line it up with one mark on my thumb and use the other mark as a placement guide for the next stitch. Continuing around the piece in the same way. That’s is probably as clear as mud! I hope it helps someone though.
Wow!!! That`s a great tip! I have never thought of going that deep :) Must try it.
What a great tutorial to add fabric to Amigurumi! I can’t wait to try it out!! Char from Phoenix, Arizona USA 🇺🇸
Thank you! With your site everything is much easier
This makes me happy!!!
Thanks, it was a great help.
Gracias lo voy a intentar!!!
Gracias! Lo probaré pronto
Thanks I hope to give this a try soon!
really nice thank you <3
Gracias… interesante.