Click Here to Subscribe and receive a Free Bonus Pattern


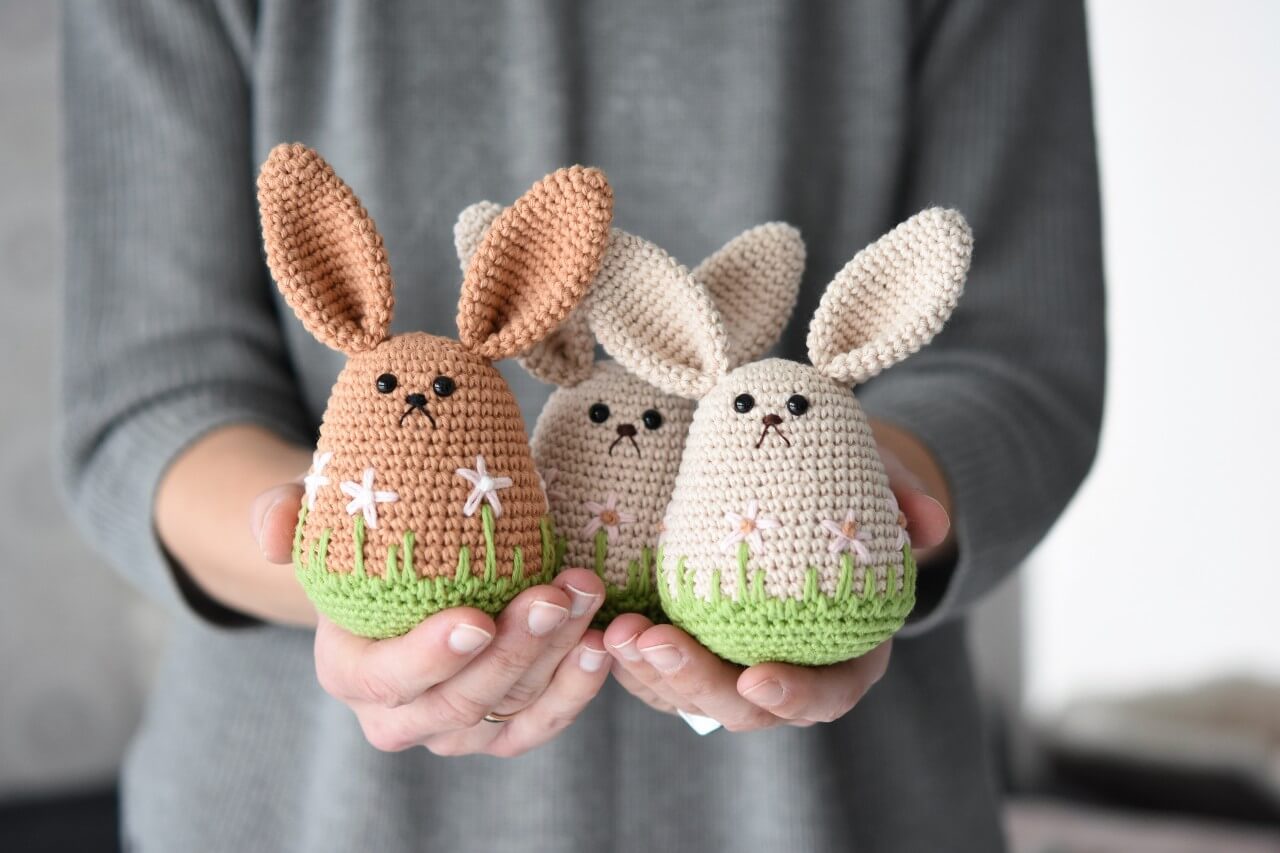
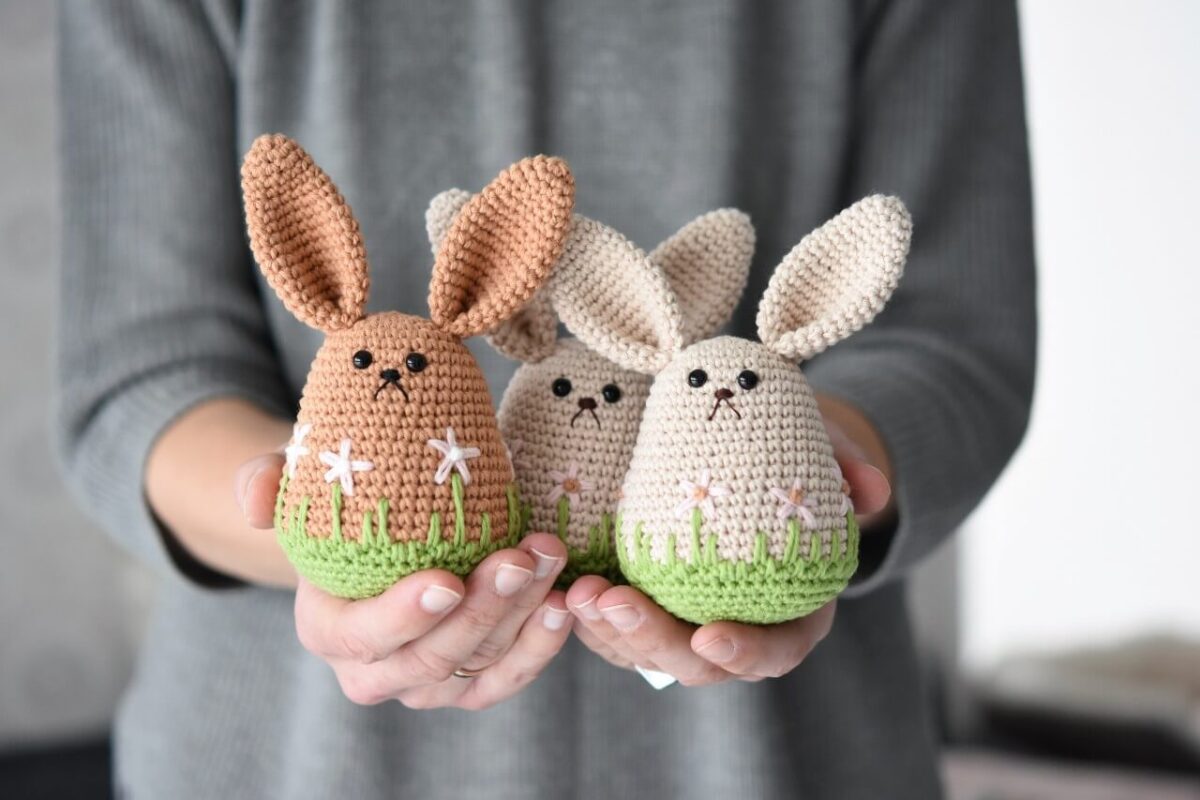
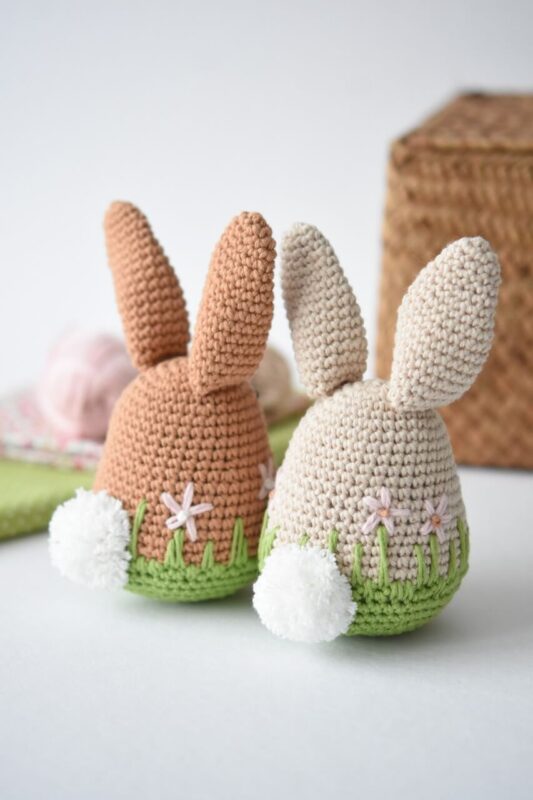
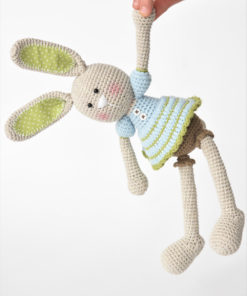
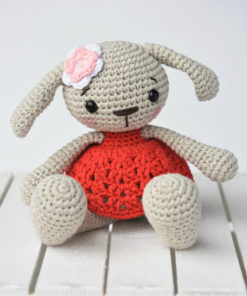
AMIGURUMI SPRING BUNNY – Free Amigurumi Egg-Bunny Pattern
Free Crochet Pattern by lilleliis
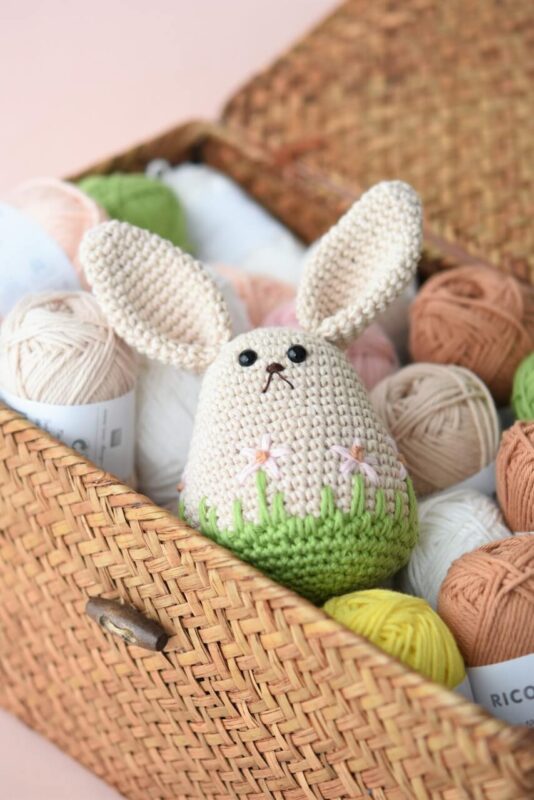
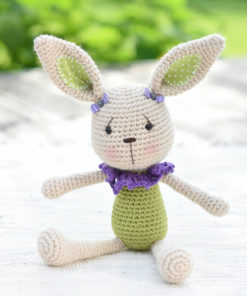
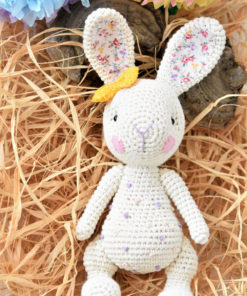
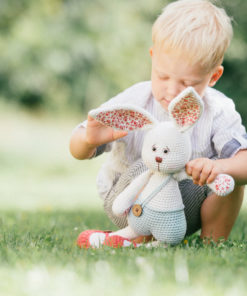
Amigurumi spring bunny is the cutest Easter bunny egg you could ever imagine! Inspired by spring, blooming flowers, bunnies and Easter eggs. Now, all these sweet things are put together in one design!
The pattern is in easy+ skill level. You`ll manage mostly with single crochet, and the shapes and sewing is really simple. Yet, you need to learn how to make long and decorative spike single crochet stitches (video tutorial) that create the grass. In addition, you`ll need some basic embroidery skills to complete the design with flowers.

CHOOSE PATTERN LANGUAGE
Supplies you`ll need:
- Yarn: 5 colors of DK / 8 ply weight cotton (Rico Design Ricorumi DK: 25 g / 57.5 m) – beige, green, pink, brown, white
- Crochet hook 2.5 mm
- Stitch marker
- Polyester fiberfill
- Safety eyes (Ø 6 mm)
- Thread for the nose
- Darning and embroidery needle
- Pompom maker (Ø 35 mm)
Finished size: 15 cm / 6 in
Skill level: easy+
Stitches needed (US crochet terms):
Slip stitch (sl st), chain (ch), single crochet (sc), spike single crochet (SPsc), French knot
Abbreviations:
Repeat (rep), stitch(es) – st(s)
About the pattern:
- Work in continuous rounds. Do not join or turn unless otherwise instructed.
- Use a stitch marker and place it in the first stitch of the round to mark the beginning of it.
- Leave each piece a long tail for sewing.
BODY
Crocheted from top to bottom.
1: Beige. Start 6 sc in a magic ring [6]
2: Work 2 sc in each st around [12]
3: (Sc in next st, 2 sc in next st) rep 6 times [18]
4: (Sc in next 2 sts, 2 sc in next st) rep 6 times [24]
5: (Sc in next 3 sts, 2 sc in next st) rep 6 times [30]
6: Sc in each st around
7: (Sc in next 4 sts, 2 sc in next st) rep 6 times [36]
8-12: Sc in each st around
13: (Sc in next 5 sts, 2 sc in next st) rep 6 times [42]
14-17: Sc in each st around
Fasten the safety eyes between rounds 7 and 8, with an interspace of 5 stitches. Close the washers on the inside of the piece.
18: (Sc in next 6 sts, 2 sc in next st) rep 6 times [48]
19-20: Sc in each st around
21: Green. Sc in next st, SPsc-3, sc in next st, SPsc-2, SPsc-4, sc in next st, SPsc-3, sc in next st, SPsc-5, sc in next 2 sts, SPsc-2, SPsc-3, sc in next st, SPsc-2, sc in next st, SPsc-4, SPsc-2, sc in next 2 sts, SPsc-5, sc in next st, SPsc-2, SPsc-3, sc in next 2 sts, SPsc-4, sc in next st, SPsc-2, SPsc-3, sc in next 2 sts, SPsc-2, sc in next st, SPsc-5, sc in next st, SPsc-2, sc in next 2 sts, SPsc-4, sc in next st, SPsc-2, sc in next st, SPsc-5, sc in next st, SPsc-2, SPsc-3, sc in next st [48]
CHECK THE STITCH COUNT AT THE END OF THIS AS WELL AS THE NEXT ROUND!
22: SPsc-1, sc in next st, SPsc-1, sc in next 2 sts, (SPsc-1, sc in next st) rep 2 times, SPsc-1 in next 2 sts, sc in next 2 sts, SPsc-1, (sc in next st, SPsc-1, sc in next 2 sts, SPsc-1 in next 2 sts) rep 3 times, (sc in next st, SPsc-1) rep 2 times, sc in next st, SPsc-1 in next 2 sts, (sc in next st, SPsc-1) rep 3 times, sc in next 2 sts, SPsc-1 [48]
23-24: Sc in each st around
25: (Sc in each of next 6 sts, sc2tog) rep 6 times [42]
26: (Sc in each of next 5 sts, sc2tog) rep 6 times [36]
Fill about half of the piece with fiberfill. Add stuffing as the work progresses.
27: (Sc in each of next 4 sts, sc2tog) rep 6 times [30]
28: (Sc in each of next 3 sts, sc2tog) rep 6 times [24]
29: (Sc in each of next 2 sts, sc2tog) rep 6 times [18]
30: Sc2tog around [9]
To close the body, weave the yarn through the front loops of all 9 sts and pull tightly.
EAR (MAKE 2)
1: Beige. Start 6 sc in a magic ring [6]
2: (Sc in next st, 2 sc in next st) rep 3 times [9]
3: Sc in each st around
4: (Sc in each of next 2 sts, 2 sc in next st) rep 3 times [12]
5: Sc in each st around
6: (Sc in each of next 3 sts, 2 sc in next st) rep 3 times [15]
7: Sc in each st around
8: (Sc in each of next 4 sts, 2 sc in next st) rep 3 times [18]
9: Sc in each st around
10: (Sc in each of next 5 sts, 2 sc in next st) rep 3 times [21]
11-16: Sc in each st around
17: (Sc in each of next 5 sts, sc2tog) rep 3 times [18]
Fold the ear and join it from the bottom. Make sure you grab all the layers when sewing. Sew the ears to the head.
EMBROIDERY
With pink yarn, embroider 5 or 6 flowers on the body, on top of the highest stalks. Start 1 round above the stalk. For each flower embroider 5 evenly spaced petals that consists of 2 stitches.
In the center of every flower embroider a French knot with brown.
Also, embroider the bunny a nose.
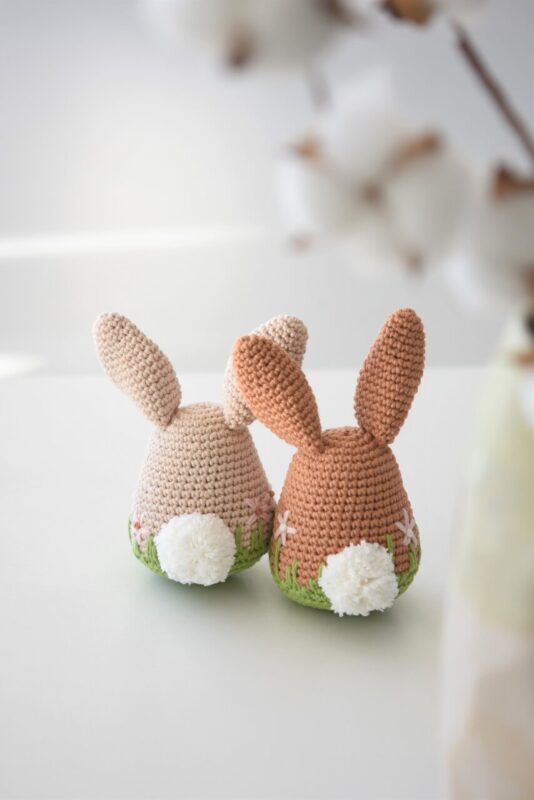
TAIL
Use a small pompom maker to make a little white tail. Sew to the back of the body.
- Hozzávalók, melyekre szükséged lesz:
- Fonal: DK 5 színben / 8 szálas pamut (Rico Design Ricorumi DK: 25 g / 57.5 m) – bézs, zöld, rózsaszín, barna, fehér
- 5 mm-es horgolótű
- Szemjelölő
- Poliészter tömőanyag
- Biztonsági szemek (Ø 6 mm)
- Cérna az orrhoz
- Stoppoló és hímzőtű
- Pompom készítő (Ø 35 mm)
Méret: 15 cm / 6 in
Szint: könnyű+
Használt pálcák:
Hamispálca/kúszószem (hp), láncszem (lsz), rövidpálca (rp), tüskés rövidpálca (TRp), francia csomó
Rövidítések:
Ismételd – ism, következő – köv.
A mintáról:
- Folyamatos körökben horgolj. Ne kapcsold össze vagy fordítsd meg a munkát, ha erre nincs külön utasítás.
- Használj szemjelölőt, helyezd az első szembe, ezzel jelölve a kör kezdetét.
- Minden darabnál hagyd hosszan a fonalat a varráshoz.
TEST
Fentről lefelé horgold.
1: Bézs. Kezdd 6 rp-vel a varázsgyűrűbe [6]
2: Minden szembe 2 rp [12]
3: (rp a köv. szembe, 2 rp a köv. szembe) ismételd 6-szor [18]
4: (rp a köv. 2 szembe, 2 rp a köv. szembe) ismételd 6-szor [24]
5: (rp a köv. 3 szembe, 2 rp a köv. szembe) ismételd 6-szor [30]
6: rp minden szembe
7: (rp a köv. 4 szembe, 2 rp a köv. szembe) ismételd 6-szor [36]
8-12: rp minden szembe
13: (rp a köv. 5 szembe, 2 rp a köv. szembe) ismételd 6-szor [42]
14-17: rp minden szembe
Helyezd a biztonsági szemeket a 7. és 8. körök közé, egymástól 5 szem távolságra. Zárd le belülről.
18: (rp a köv. 6 stembe, 2 rp a köv szembe) ismételd 6-szor [48]
19-20: rp minden szembe
21: Zölddel. Rp a köv. szembe, TRp-3, rp a köv. szembe, TRp-2, TRp-4, rp a köv. szembe, TRp-3, rp a köv. szembe, TRp-5, rp a köv. 2 szembe, TRp-2, TRp-3, rp a köv. szembe, TRp-2, rp a köv. szembe, TRp-4, TRp-2, rp a köv. 2 szembe, TRp-5, rp a köv. szembe, TRp-2, TRp-3, rp a köv. 2 szembe, TRp-4, rp a köv. szembe, TRp-2, TRp-3, rp a köv. 2 szembe, TRp-2, rp a köv. szembe, TRp-5, rp a köv. szembe, TRp-2, rp a köv. 2 szembe, TRp-4, rp a köv. szembe, TRp-2, rp a köv. szembe, TRp-5, rp a köv. szembe, TRp-2, TRp-3, rp a köv. szembe [48]
ELLENŐRIZD LE A SZEMSZÁMOT A SOR VÉGÉN, MAJD A KÖVETKEZŐ SOR VÉGÉN IS!
22: TRp-1, rp a köv. szembe, TRp-1, rp a köv. 2 szembe, (TRp-1, rp a köv. szembe) ism 2-szer, TRp-1 a köv. 2 szembe, rp a köv. 2 szembe, TRp-1, (rp a köv. szembe, TRp-1, rp a köv. 2 szembe, TRp-1 a köv. 2 szembe) ism 3-szor, (rp a köv. szembe, TRp-1) ism 2-szer, rp a köv. szembe, TRp-1 a köv. 2 szembe, (rp a köv. szembe, TRp-1) ism 3-szor, rp a köv. 2 szembe, TRp-1 [48]
23-24: rp minden szembe
25: (rp a köv. 6 szembe, fogy) ismételd 6-szor [42]
26: (rp a köv. 5 szembe, fogy) ismételd 6-szor [36]
Körülbelül a közepéig tömd ki a darabot. A munka végéig folyamatosan tömd.
27: (rp a köv. 4 szembe, fogy) ismételd 6-szor [30]
28: (rp a köv. 3 szembe, fogy) ismételd 6-szor [24]
29: (rp a köv. 2 szembe, fogy) ismételd 6-szor [18]
30: fogy végig [9]
A test lezárásához húzd át a fonalat a 9 szem első hurkán és húzd meg szorosan.
FÜLEK (készíts 2-t)
1: Bézs. Kezdd 6 rp-vel a varázsgyűrűbe öltve [6]
2: (Rp a köv. szembe, 2 rp a köv. szembe) ismételd 3-szor [9]
3: Rp minden szembe
4: (Rp a köv. 2 szembe, 2 rp a köv. szembe) ismételd 3-szor [12]
5: Rp minden szembe
6: (Rp a köv. 3 szembe, 2 rp a köv. szembe) ismételd 3-szor [15]
7: Rp minden szembe
8: (Rp a köv. 4 szembe, 2 rp a köv. szembe) ismételd 3-szor [18]
9: Rp minden szembe
10: (Rp a köv. 5 szembe, 2 rp a köv. szembe) ismételd 3-szor [21]
11-16: Rp minden szembe
17: (Rp a köv. 5 szembe, fogy) ismételd 3-szor [18]
Hajtsd ketté a fület és kapcsold össze az alján. Varráskor ne feledd az összes réteget odafogni. Varrd a füleket a fejre.
HÍMZÉS
Rózsaszín fonallal hímezz 5 vagy 6 virágot a testre, a legmagasabb szálak tetejére. Kezdd az körrel a szár fölött. Minden virághoz hímezz 5 egyenletesen elosztott szirmot, melyek két öltésből állnak.
Minden virág közepére hímezz egy francia csomót barna színnel.
Hímezd ki a nyuszi orrát is.
FAROK
Használj egy pici pompom készítőt, hogy egy kicsi fehér farkat készíts. Varrd a test hátoldalára.
Want to keep this Spring Bunny pattern for later?
You can download the PDF version with helpful step-by-step photos.
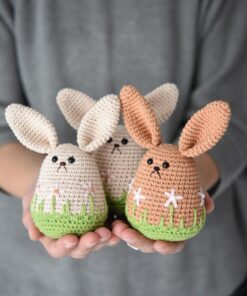
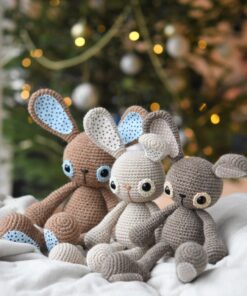
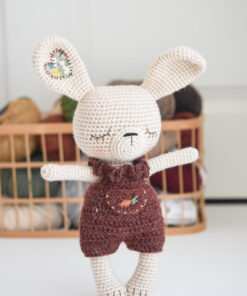
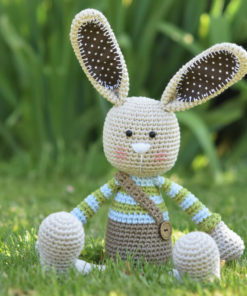
BROWSE MORE CUTE BUNNY PATTERNS
This product has multiple variants. The options may be chosen on the product page
This product has multiple variants. The options may be chosen on the product page
This product has multiple variants. The options may be chosen on the product page
This product has multiple variants. The options may be chosen on the product page
This product has multiple variants. The options may be chosen on the product page
This product has multiple variants. The options may be chosen on the product page
This product has multiple variants. The options may be chosen on the product page
This product has multiple variants. The options may be chosen on the product page
This product has multiple variants. The options may be chosen on the product page
This product has multiple variants. The options may be chosen on the product page
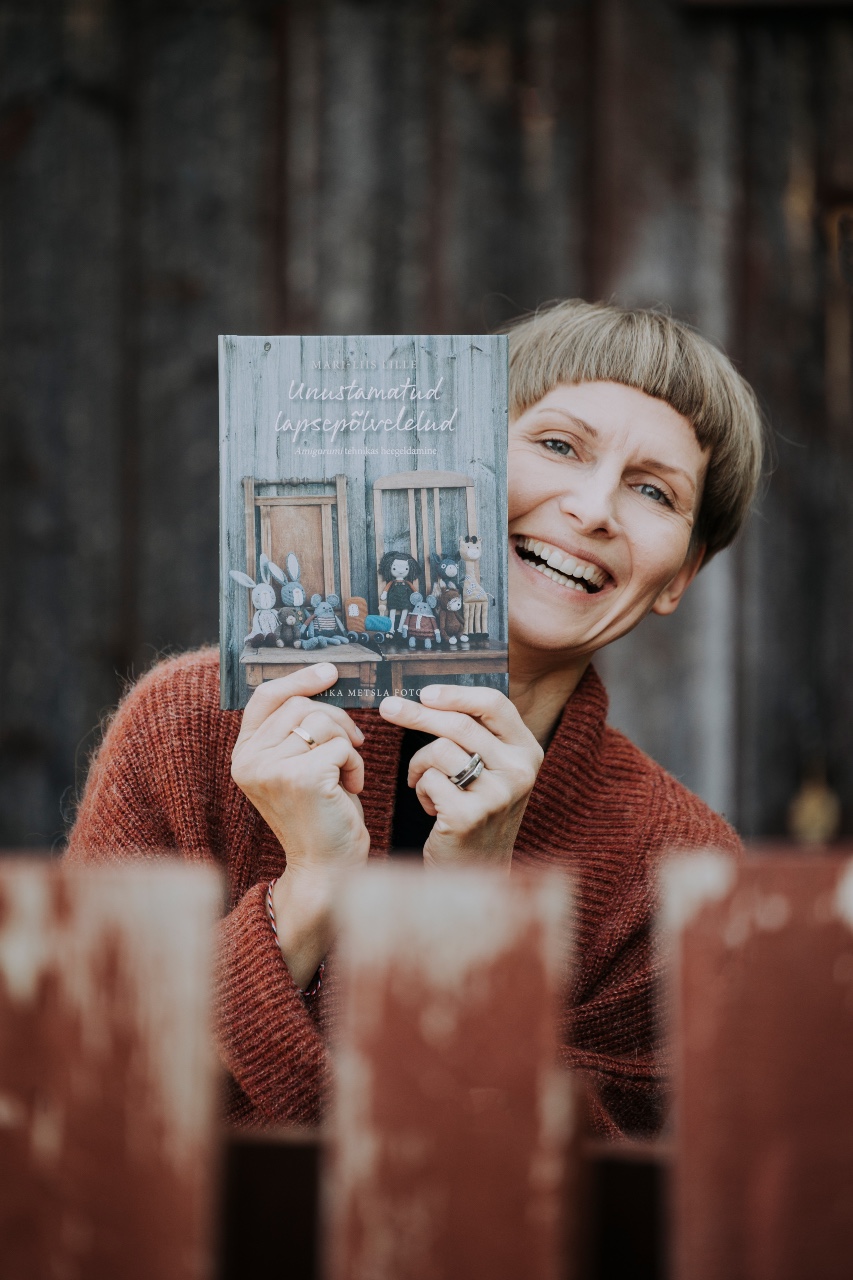
Hi, I'm Mari-Liis
The designer behind lilleliis crochet patterns.
I love creating amigurumi toys and spreading the joy of crochet.
Most Loved Free Crochet Patterns
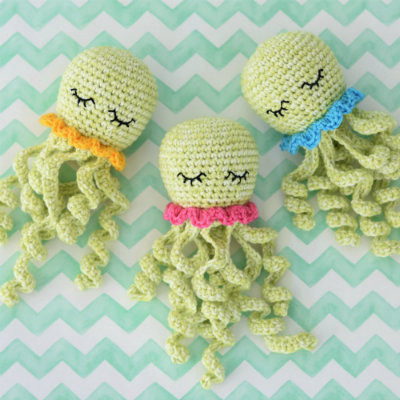
Amigurumi Octopus

Amigurumi Heart
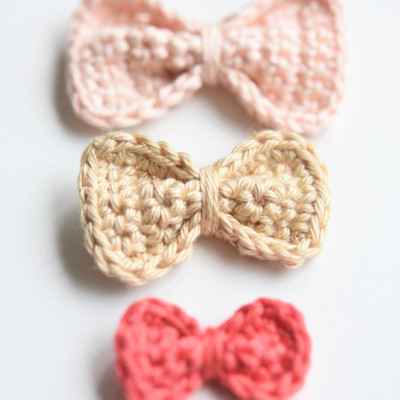
Crochet Bow in 3 Sizes