

Tips and tricks
8 useful tips for an amigurumi beginner
Apr
Hello everyone! I am Mari-Liis, the face behind lilleliis, and have been making amigurumi toys since 2009. This makes over 12 years of experience, learning from scratch, developing my skills, and teaching others.
Today I want to share 8 tips for amigurumi beginners. If you have been planning to try amigurumi, then these small hints are exactly what you need to make starting your first amigurumi project a little easier.
1. CHOOSE LIGHT-COLORED YARN
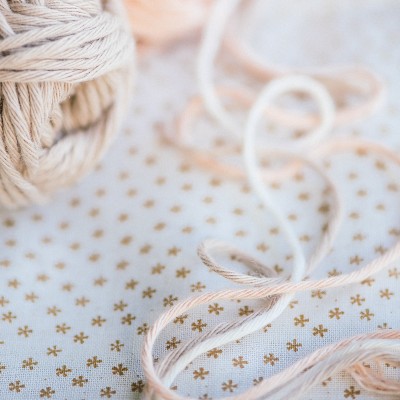
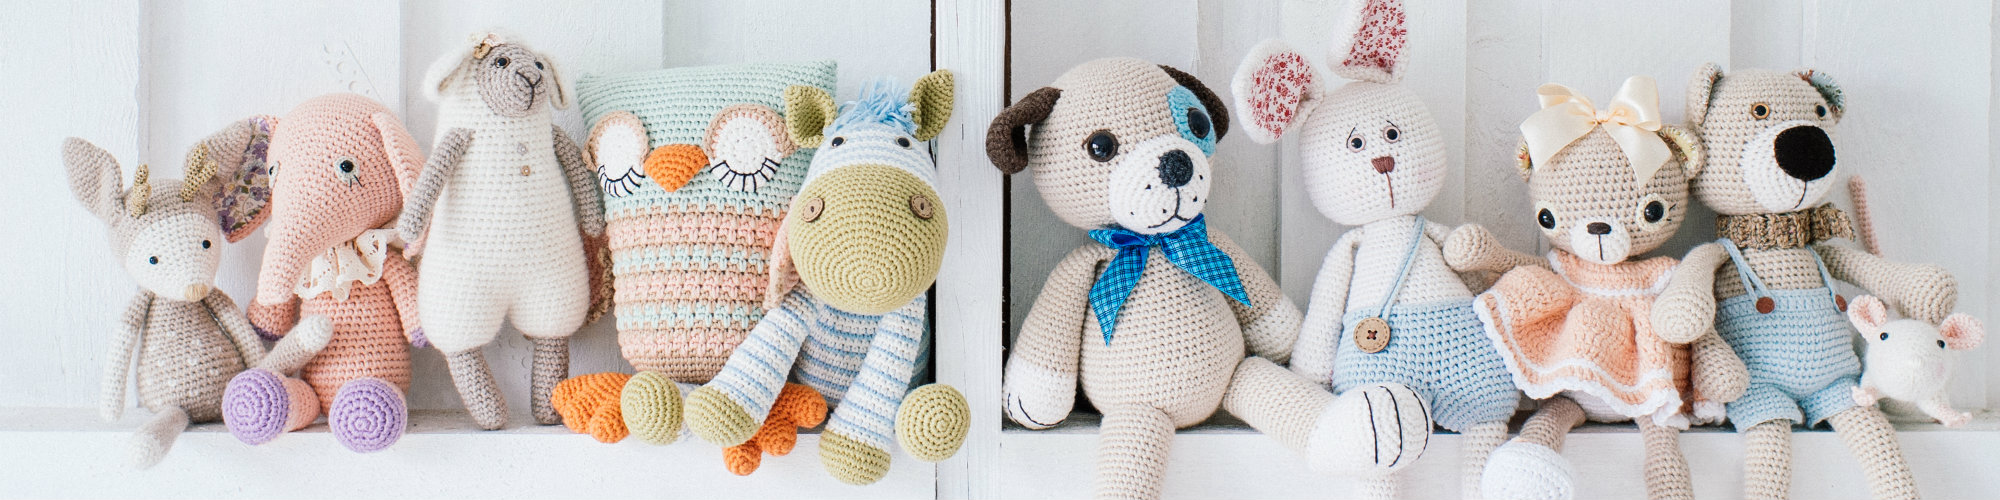
If you want to try amigurumi, you need yarn. For your first project choose a smooth light-colored yarn. Remember, the darker the yarn, the harder it is to count stitches.
Cotton is the best because it`s sleek and rigid. For your first project I recommend avoiding wool or any yarn with special effects (furry, tufted, glittery, etc).
2. THE BEST HOOK SIZE
Along with the yarn you need a crochet hook. In my opinion, 3 or 3.5 mm crochet hook is the best for the start. It works well with DK or worsted weight yarn which is normally recommended for amigurumi making. A too big or too small crochet hook can be complicated to work with.
KEEP IN MIND!
Always choose a crochet hook about 1 mm smaller than indicated on the yarn label. For example, if the label calls for a 4 mm crochet hook, then 3 mm will work well for amigurumi. Why? Because our goal is a tight and even surface, no gaps between the stitches.
3. TIPS FOR CHOOSING THE FIRST PATTERN
There are 2 options if choosing the pattern for your first amigurumi project:
- Use a free pattern of a well-known amigurumi designer. This is a great choice for those who want to go for freebies. You can get the touch of amigurumi without spending any money. Why a known designer? Because this gives a certain guarantee for the quality of patterns and customer support, if you should need it.
- Buy a premium pattern from a well-known designer. Usually, a premium pattern means step-by-step photos and a more detailed textual guidance which makes crocheting a pleasure. Every step is photographed, so it`s easy to compare what you`ve made with what it should look like.
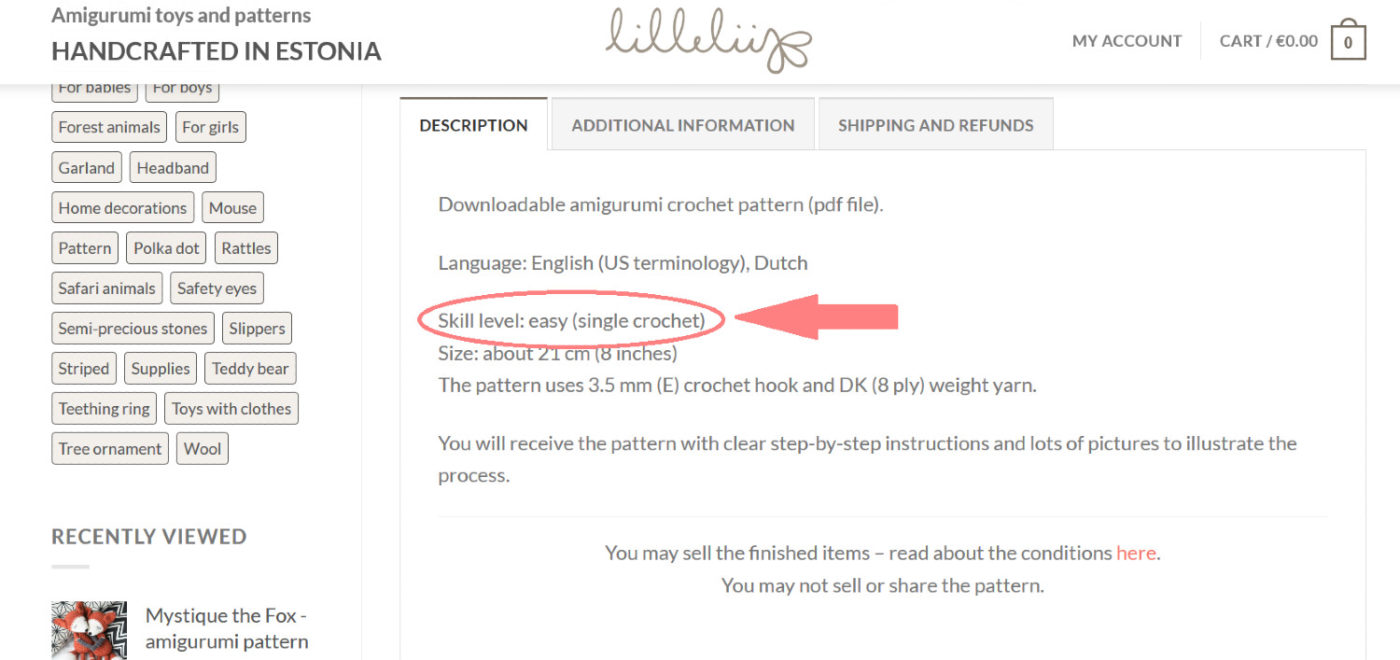
4. CHECK THE PATTERN SKILL LEVEL
If choosing the pattern, don`t forget to check the skill level. You are most definitely searching for an easy or beginner. There is no point in picking an advanced pattern with loads of different stitches and confusing techniques that may easily scare you off. Make sure the first pattern you`ve chosen has
- SINGLE CROCHET ONLY
The easiest toys can be made with single crochet only. In addition to that, you`ll need the magic ring, chain stitch, and slip stitch. To keep it simple, make sure there`s no double crochet, half double crochet, or other more complicated stitches.
- ONE COLOR ONLY
If the toy is mono-colored, it means there won`t be any changing of color, and that is just perfect for a beginner. You can always choose something more challenging for the next project.
5. HOW MUCH STUFFING IS ENOUGH
If you start your first amigurumi, you`ll be amazed at how much stuffing it actually takes to fill a single toy. I´d say it takes 3 or 4 times more than you`ll expect.
MY SPECIAL TIP
Try not to stuff too hard. It`s enough if the piece is still resilient and springs back into shape after you compress it with fingers. If stuffed too much, the stitches will be torn apart and the stuffing will become noticeable.
6. YOU`LL LOVE THE STITCH MARKER
Stitch marker will probably become a very good friend of yours because in amigurumi it`s essential to mark the beginning of each round. We work in the spiral so it`s hard to understand where the rounds begin or end.
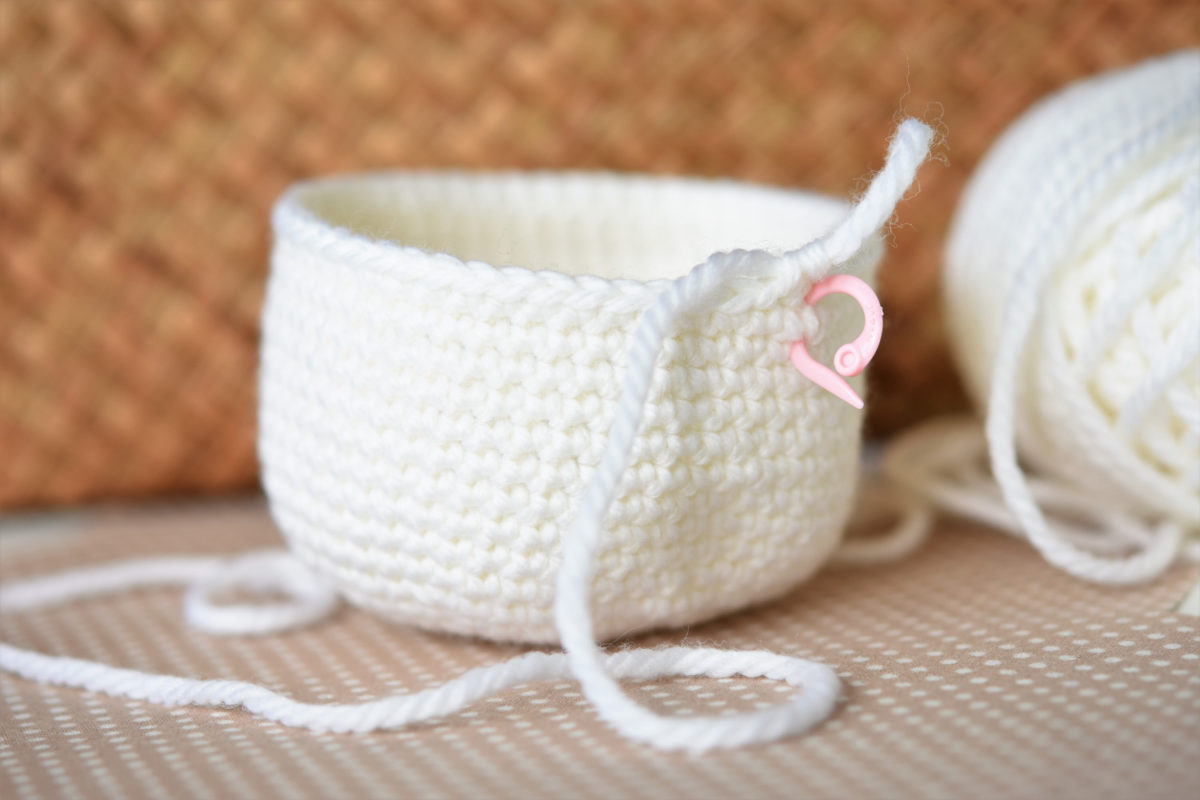
MY PERSONAL STITCH MARKER TIPS
- Let`s say you have to work 20 rounds with the same amount of stitches (no increases or decreases), change the position of a stitch marker after every 5 rounds. Why? Because this makes counting rounds so much easier. For example, you mark the first round, then work 5 rounds and change the position of the stitch marker only when starting the 6th round. If changing it every round, you`ll soon find yourself confused of which round you`re at.
- Another tip I use is when it comes to decreasing. This works in the parts where there`s a round with the decrease followed by a few rounds without any decrease. Mark the round with the decrease and work straight rounds without moving the marker. This way it`s easier to understand where the stitches have been decreased, and how many rounds you`ve worked after.
7. ALLOW YOURSELF MISTAKES
If this is your first amigurumi project, don`t be too harsh on yourself. We`ve all started from somewhere and developed the skills by time. It`s fun to learn new things from different designers and see yourself in the progress.
8. DON`T FORGET TO TAKE A PHOTO
It`s a good idea to take a photo of every amigurumi you`ve made. This helps to count how many you`ve made and see the skills developing.
I never started counting my toys, neither did I photograph each and every one of them. This is something I highly regret because I´ll never know how many I´ve made.
Share your thoughts or tips in the comments below.
These are good tips. I do use a hook size smaller for my amis, but I also use the yarn under technique. I never have any holes and can’t see the stuffing. I always use the invisible decrease, which also helps avoid holes. What I was hoping to see was how to attach body parts. That is the number one issue in making amis, especially for beginners. Since most of mine are for baby gifts, I don’t want them to be able to pull arms and legs off. How do you attach them so the are secure and still look nice? I have been making amis for quite a while, but nobody addresses this. I know how to crochet. And I’m great at making and stuffing all the parts. All the patterns say is sew on body parts. That’s great, but I don’t sew. It is next to impossible to find a good tutorial and/or video that shows how to do this.
Hi, Sandy! Thanks for your feedback. Here you can find my post about sewing amigurumi parts together.
Your tutorials and tips are so useful and easy to follow. I wish I had found your website before my first amigurumi toy for my granddaughter. I read on another blog a tip for beginners to only use the back loop especially in dark yarn that mor difficult to see the stitches and that the front loop would help fill in any gaps. I found that the opposite was true , yes it was easier to find the stitches but in my experience it widened the gap and you could see my stuffing more clearly. I found that only practice improves the tension and neatness of the stitches. Thank you very much for sharing your knowledge, much appreciated.
Renee
Renee, your feedback makes me super happy! Thanks!
I have just begun my journey into amigurmi and was lucky stumble across your website today. Your tips are very useful thank you. My question is tension. I have gone down hook sizes which helps a little but still I am loose. Have you got any tips on how to get tighten my tension?
Your work is beautiful and I look forward to the day I will purchase on of your patterns and able to do it justice. Until then I will continue to practice on your free pattern “Little Walter”
Thank you
Thank you, Sonia, so glad to see you here! On my experience, the tension comes with time. The more you crochet, the more beautiful your surface gets. But there is one little tip I like to use. It`s wrapping the yarn that comes from the ball around your little finger. This holds it a little more tense.
Thanks for your straight forward tips. They are short and to the point AND absolutely on point! I’m making my 3 amigurumi toy and I wish I had read this when I started about 3 years ago.
Thanks so much! Same feeling. I hope they still help some of us who are yet starting :)