

Tips and tricks
Beginners guide to amigurumi. Techniques you need to know to start your first amigurumi project

Sep
You probably are reading this post because you want to start your first amigurumi project. Maybe you`ve even found a beginner (easy) skill level pattern, however, you have no idea what are all these stitches mentioned in the pattern and how should you know how to work these?
Don`t worry. Let`s take it slowly from the beginning.
In this post you will find:
- An explanation of amigurumi basic stitches + links to photo tutorials
- A video tutorial covering all techniques in only 4 minutes
- Suggested patterns for an amigurumi beginner
So let`s start. In a beginner level amigurumi pattern there are most probably all of the following stitches and techniques needed:
MAGIC RING
Every piece in amigurumi begins with a magic ring (also called adjustable loop). You start the head with it, the body, both legs, both arms etc. You need this stitch to begin every piece you make, so you better learn it well.
It`s not the only possible method for starting an amigurumi piece, but it`s definitely the best and nicest looking one.
SINGLE CROCHET
Single crochet is the very basic stitch in amigurumi which forms the surface. The simplest amigurumi toys are made using only single crochet.
In amigurumi, we crochet in the round. The first round of single crochet stitches are crocheted in the magic ring, every coming round is crocheted on top of the previous round.
We want the surface to be nice and even, that`s why it`s good to practice single crochet a lot to achieve the right tightness.
INCREASING STITCHES
To make the piece wider you need to increase the number of stitches on your work. This means you`ll work more stitches in every round. You need to increase until your piece is wide enough.
An example:
In the first round, we normally start with 6 single crochet. In the second round, we work 2 single crochet stitches in every stitch of the previous round, so we get 12 stitches in total. This means we have increased by 6 stitches.
DECREASING STITCHES
To make the piece narrower we need to decrease the number of stitches. This means we will crochet stitches together to have fewer stitches at the end of the round.
An example:
Let`s say we have 18 stitches but we want to have only 12 stitches in the next round. This means we have to decrease every third stitch. For that, we work one single crochet stitch as we normally would, and then we crochet the next 2 stitches together (= decrease). We will repeat this the entire round.
In the tutorial, I will teach you 2 different ways to decrease – regular decrease and an invisible decrease which I highly recommend in amigurumi. Just as the name indicates, it`s a very delicate way of decreasing stitches without harming the crochet surface. This will push you instantly to the amigurumi PRO level.
FASTEN OFF
When you come to the end of an amigurumi piece, the pattern normally says to Fasten off or Finish off. How should you do this? In my tutorial, I will show you a special trick to do at the end of the piece. It will give you the neatest finish, leaving a long yarn tail and an even edge to start sewing the pieces together.
Make it even easier for yourself and learn from the video! Don`t forget to take a ball of yarn and crochet hook with you :)
Still searching for an easy amigurumi pattern for beginners level? Here`s what I recommend:
SMUGLY BEAR
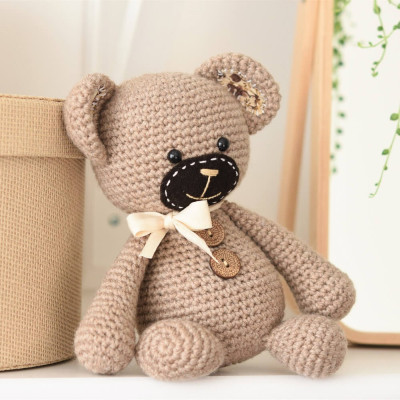
- One color only. No color changes
- Great size for working
- Premium pattern with photos
FUNNY BUNNY
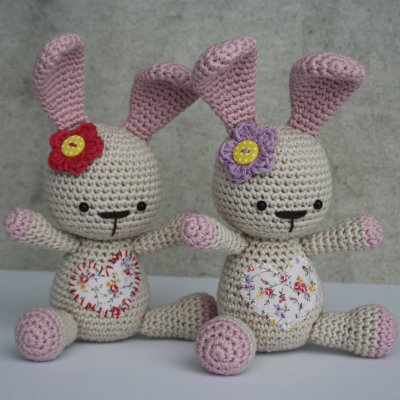
- Free pattern
- Loved by thousands of crocheters
- Great size for working
FELIX THE FROG
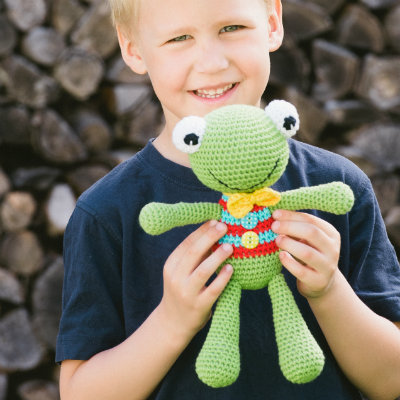
- No safety eyes needed
- Free pattern
- Great size for working
Hello, I am new with crochet and making a red Robin. Can you assist on the proper in changing a different colour yarn. So many on internet but very difficult to understand Thank you.
Hi, Nicole! I´ve got it covered here. Hopefully this helps you!
This is the most helpful thing I’ve ever seen! I love the picture breakdown, I need that, but having the videos to see everything in action after (and knowing it’s the same method!) is sooo sooo helpful! Thank you so much for making this! I can’t wait to get started with some of your patterns!
What a feedback! Thank you so much for this!!!
Hi there. I have been crocheting forever but only just recently attempted a “mouse in a basket” for my 3yo gd. Oh my goodness have I been on a tiny journey I can’t perfect. It’s really taken me in and I won’t give up. The basket was no problem it’s perfect but the body bits are a whole lot worse. Would you have a mouse pattern for a beginner? This is such a beautiful craft however I’m thinking I’ll stick to one colour.
Hi, Sandi! This is the little mouse pattern I`m sure is beginner friendly too: https://www.lilleliis.com/product/silky-spring-mouse-pattern/ I`ve made it in silk or cotton or wool. All look great.
I love your help in making the magic ring and how to decrease and fastening off this project Thank You 😊 for your demonstration 😀
Thank you! I´m glad I could help.
I love your books!
lovely patterns and very good instructions!
Thanks a bunch!!!
hi Do you have a book with this info for sale anywhere as I have an eye condition and can’t spend long on a computer,laptop,tablet. thankyou
Hi, Debbie! All these techniques are covered in the front part of all my books. Pick any of them and you`ll get the material on paper.
I would like to know what is the best blend of yarn for making children’s Amigurumi toys. I live in Us, something that I can find here. Thanks
Hi! Have you tried Rowan Handknit Cotton? It`s a fascinating yarn, and really good for beginners. Plus, it`s cotton, so it`s good for skin as well.
Hi Lilleliis!
My name is Helena and I am brazilian, living in Sao Paulo. Please forgive my bad english, I still learning. I need to say THANK YOU for your instructions and patterns, and so many amazing things, and now for this incredible tutorial for beginners. I made one cat with instructions I pick up on internet, and she not look so good. Now, I will try your funny bunny, and if looks ok, I will show you. Thanks a lot again and forever! God bless you always! :)
Thanks, Helena! I`m so glad this tutorial helped you. Looking forward to see the photo of your bunny.