Click Here to Subscribe and receive a Free Bonus Pattern


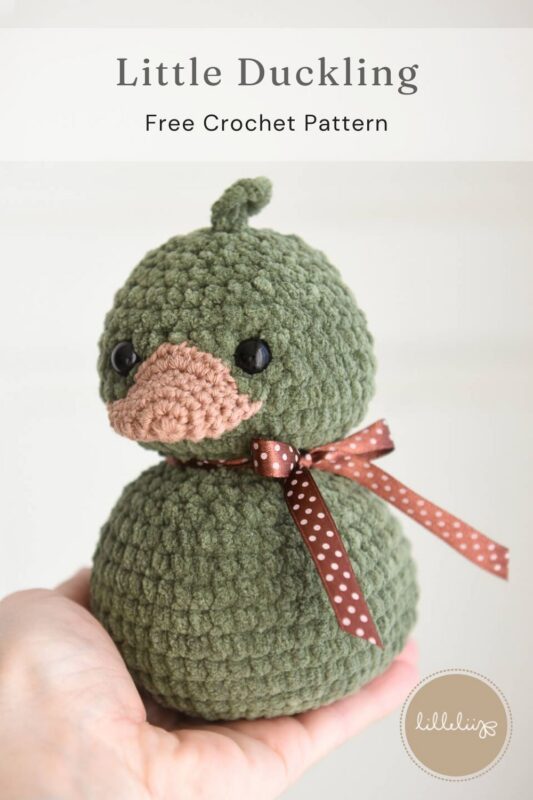
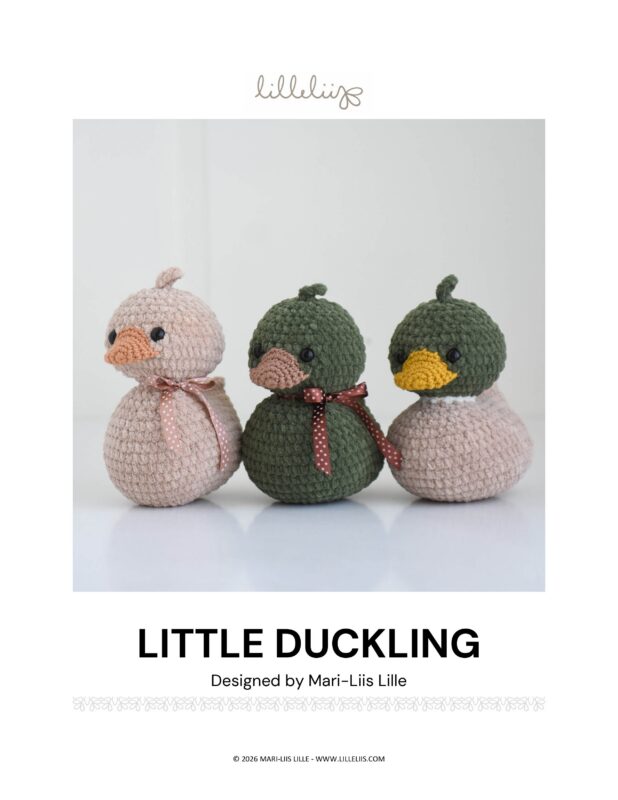
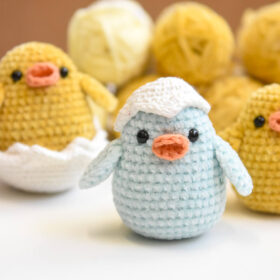
LITTLE DUCKLING – Free Amigurumi Chenille Duck Pattern
Free Crochet Pattern by lilleliis
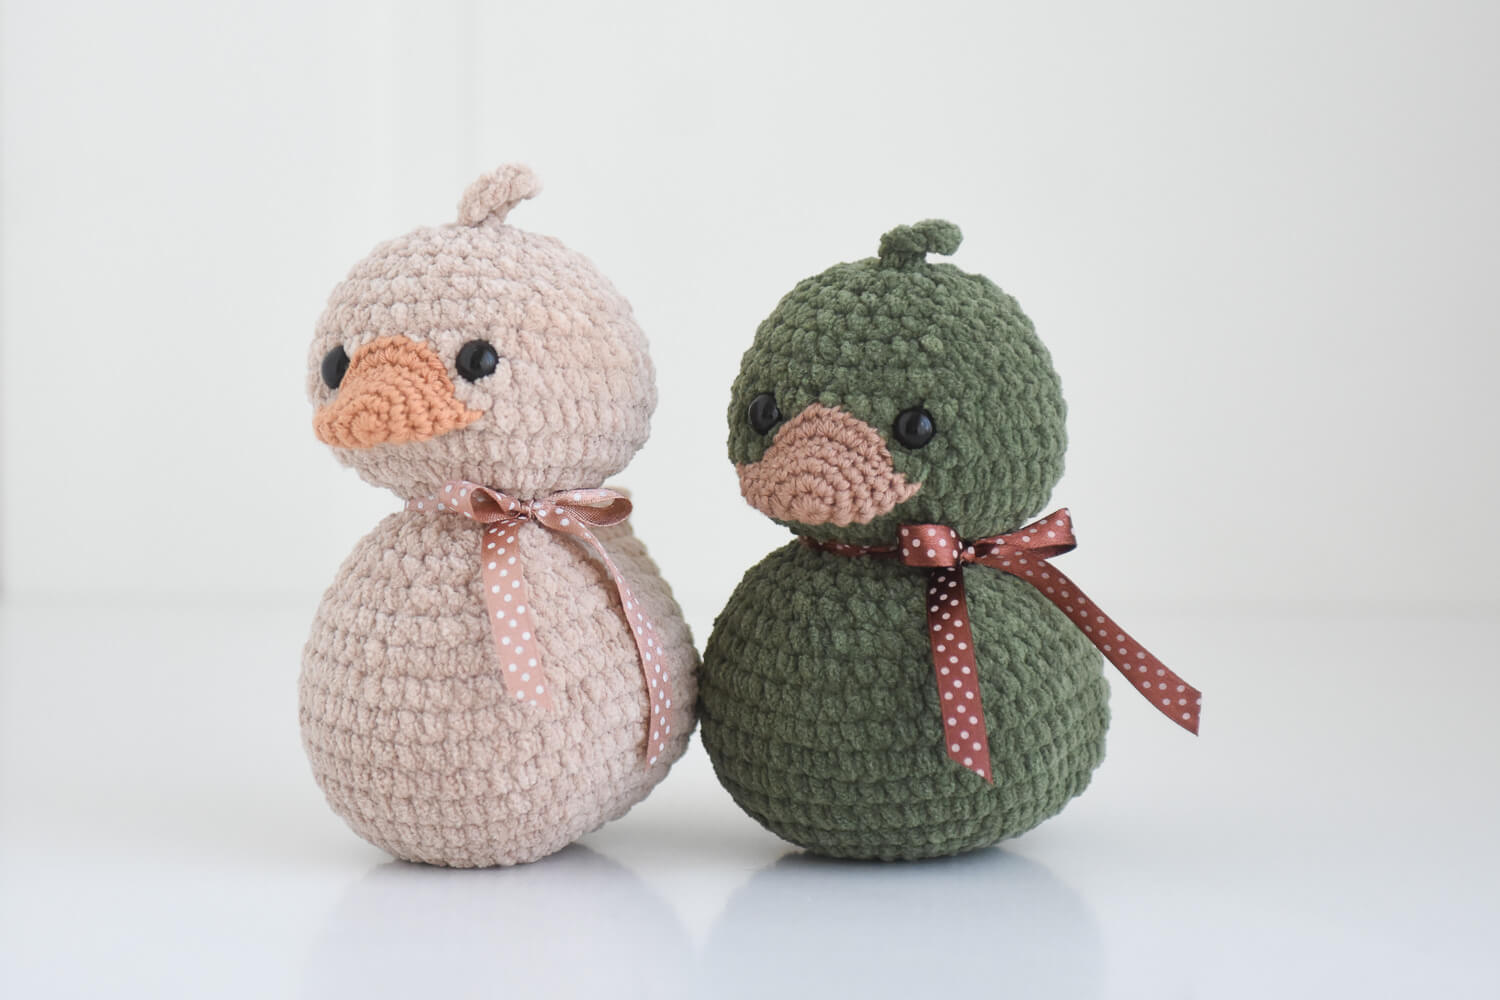
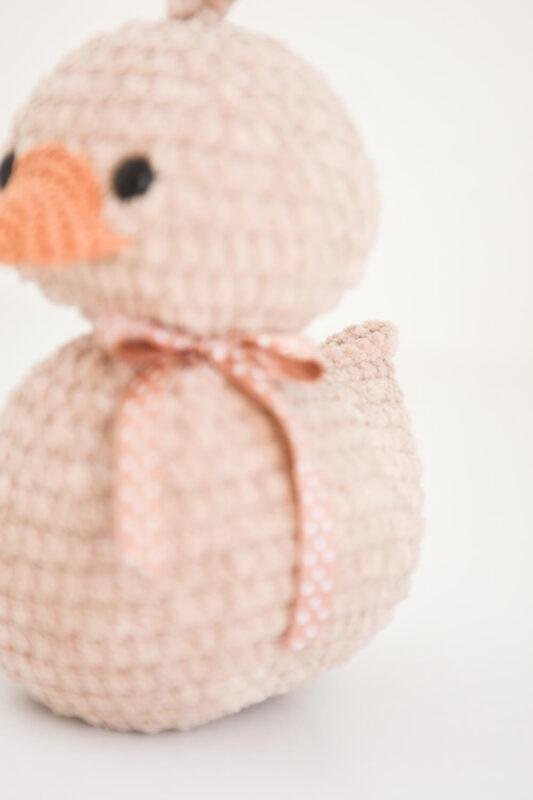
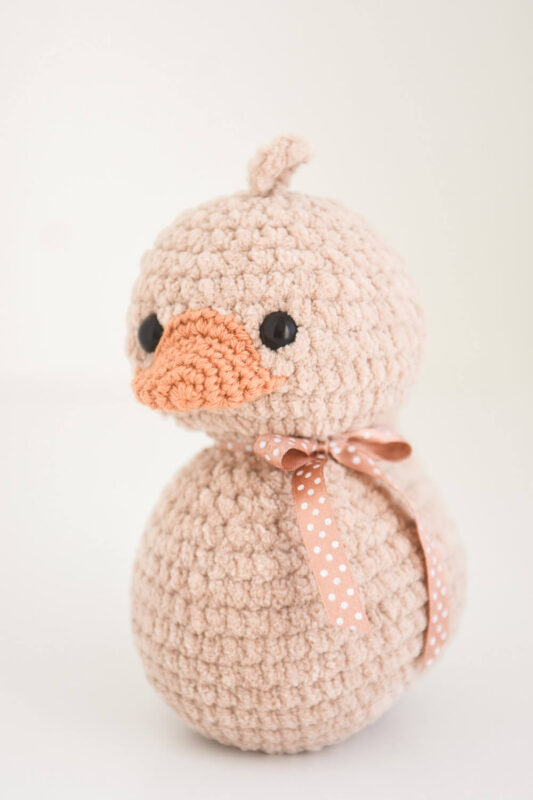
A super cute and squishy amigurumi duckling made with velvety chenille yarn.
This duck is made from just two pieces – the body and the beak – with minimal sewing required. You only need to attach the top part of the beak in place.
These little ducks look absolutely stunning in monochrome color combinations, especially with a matching satin ribbon tied around their neck.
A quick and fun project, perfect for Easter or a baby shower.
Supplies you`ll need:
- bulky chenille yarn for the body, for example Rico Chenillove (100 g / 110 m)
- DK weight cotton yarn for the beak, for example Ricorumi DK (25g / 57.5 m)
- crochet hooks 2.5 mm and 3.75 mm
- 10 mm safety eyes
- polyester fiberfill
- stitch markers
- satin ribbon
- darning and embroidery needle
Finished size: 15 cm / 6 in
Skill level: intermediate
Stitches and abbreviations (US crochet terms):
Magic ring, slip stitch (sl st), chain (ch), single crochet (sc), repeat (rep), stitch(es) – st(s)
About the pattern:
- Work in continuous rounds.
- Use a stitch marker and place it in the first stitch of the round to mark the beginning of it.
- Leave each piece a long tail for sewing.
- About 50 grams of chenille yarn is needed for the duck.
BEAK
Use cotton yarn and 2.5 mm crochet hook.
1: Work 8 sc in the magic ring [8]
2: 2 sc in each st around [16]
3: (Sc in each of next 3 sts, 2 sc in next st) rep 4 times [20]
4-5: Sc in each st around [20]
6: Flatten the piece and work next 2 sc through two layers, then skip 6 sts on the back layer and work 2 sc in each of next 6 sts on the first layer only, again work 2 sc through both layers.
Fix with a chain st. Do not fill the beak.
BODY
Use chenille yarn and 3.75 mm crochet hook.
1: Start 8 sc in a magic ring [8]
2: Work 2 sc in each st around [16]
3: (Sc in next st, 2 sc in next st) rep 8 times [24]
4: (Sc in next 2 sts, 2 sc in next st) rep 8 times [32]
5: (Sc in next 3 sts, 2 sc in next st) rep 8 times [40]
6: (Sc in next 4 sts, 2 sc in next st) rep 8 times [48]
7: (Sc in next 5 sts, 2 sc in next st) rep 8 times [56]
8-12: Sc in each st around
13: (Sc in next 5 sts, sc2tog) rep 8 times [48]
14: Sc in each st around
15: Sc in next 15 sts, (sc2tog, sc in next st) rep 6 times, sc in next 15 sts [42]
16: Sc in each st around
17: Sc in next 15 sts, (sc2tog) rep 6 times, sc in next 15 sts [36]
18: Flatten the piece and crochet through two layers: sc in each of next 10 sts. Continue making the neck around the 16 sts that are still unworked: sc in next 7 sts, sc2tog, sc in next 7 sts [15]
19: Sc in each st around [15]
20: Work 2 sc in each st around [30]
21: (Sc in next st, 2 sc in next st) 15 times [45]
22: Sc in each st around
Start filling the body and keep stuffing as the work progresses.
23: Sc in next 20 sts. Place the beak on the body, the stitches of the last round lining up and work sc in next 2 sts through both pieces, sc in next 6 sts through the back layer of the beak and the body, sc in next 2 sts through both pieces again. Complete the round with sc in next 15 sts [45]
24: (Sc in next 3 sts, sc2tog) rep 9 times [36]
25-26: Sc in each st around [36]
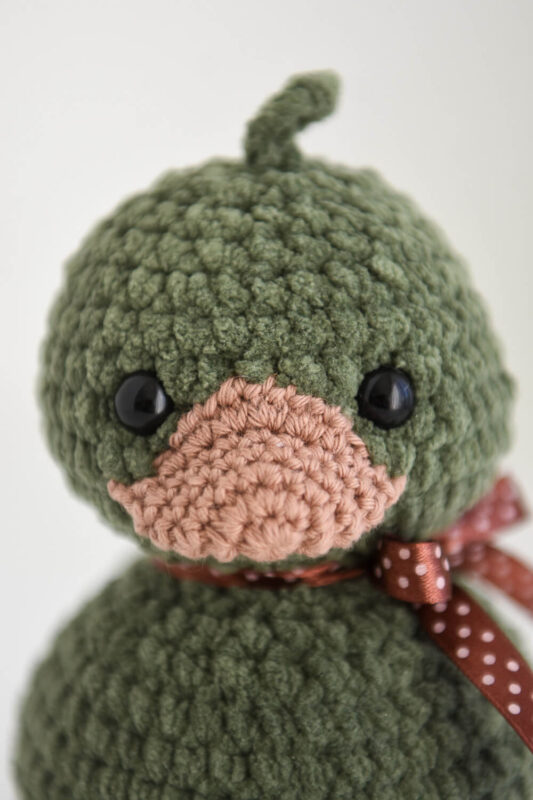
Fasten the safety eyes between rounds 24 and 25, 6 stitches apart.
27: (Sc in next 4 sts, sc2tog) rep 6 times [30]
28: (Sc in next 3 sts, sc2tog) rep 6 times [24]
29: Sc in each st around
30: (Sc in next st, sc2tog) rep 8 times [16]
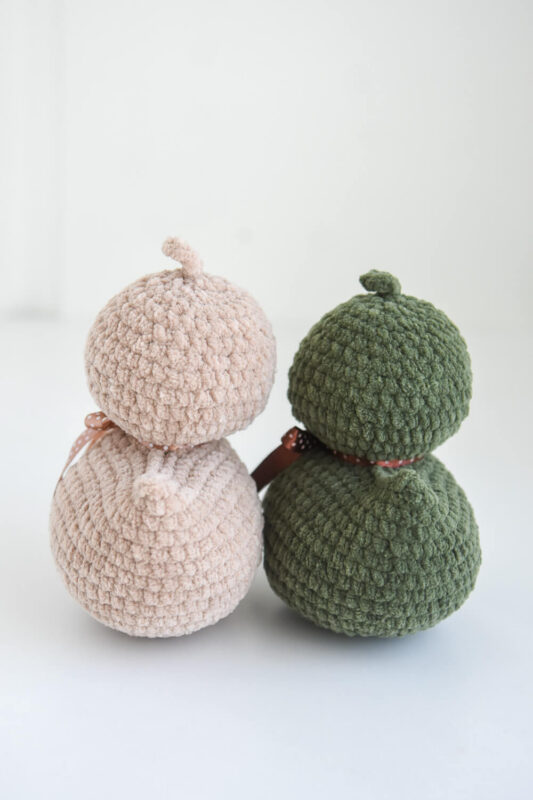
31: (Sc2tog) rep 5 times, ch 8, sl st in the same st where you started the chains, (sc2tog) rep 3 times [8]
Before closing the hole, sew the upper part of the beak in place.
To close the hole, weave the yarn through the front loops of all 8 sts of the last round and pull together tightly (skip the ch-8). Knot securely and hide the yarn tail inside the work.
Want to keep this Little Duckling pattern for later?
You can download the PDF version with helpful step-by-step photos.
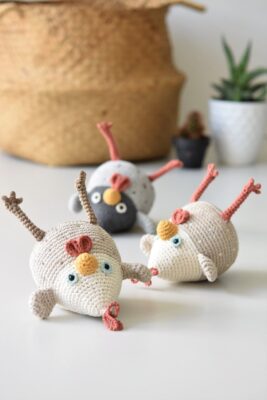
BROWSE MORE BIRD PATTERNS
This product has multiple variants. The options may be chosen on the product page
This product has multiple variants. The options may be chosen on the product page
This product has multiple variants. The options may be chosen on the product page
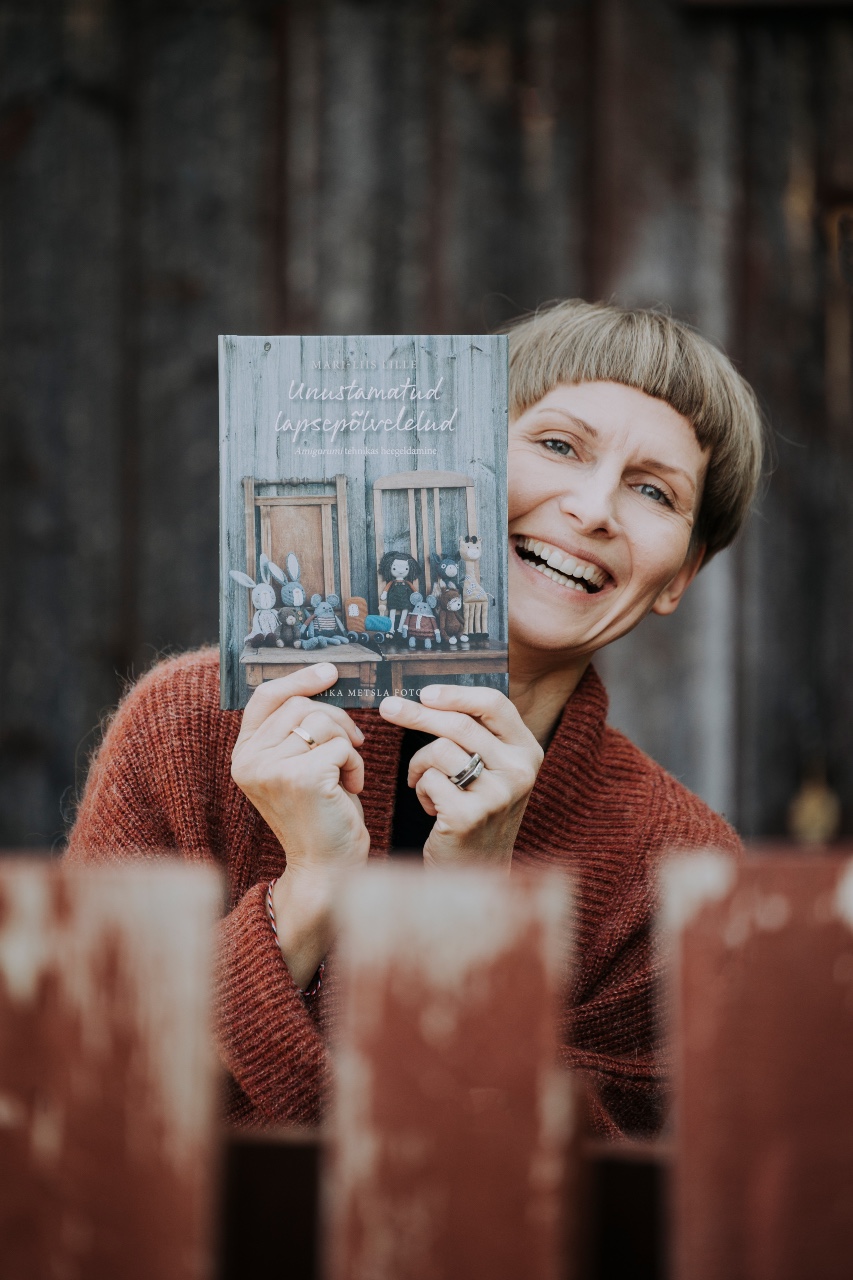
Hi, I'm Mari-Liis
The designer behind lilleliis crochet patterns.
I love creating amigurumi toys and spreading the joy of crochet.
Most Loved Free Crochet Patterns
Amigurumi Octopus

Amigurumi Heart
Crochet Bow in 3 Sizes