

Tips and tricks
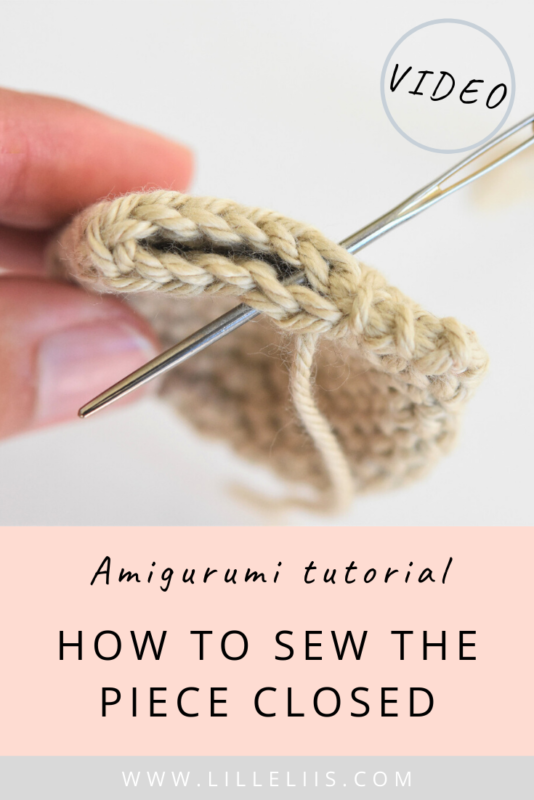
Tutorial – How to sew an amigurumi piece closed (video)
Apr
In this tutorial we are talking about closing an amigurumi piece. In some cases, we need to close it before sewing to another amigurumi piece. One of the possible ways to close a piece is to sew it closed.
How to do it?
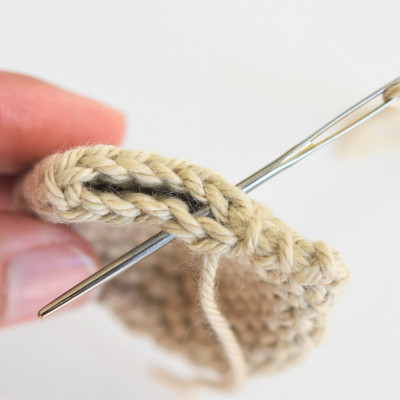
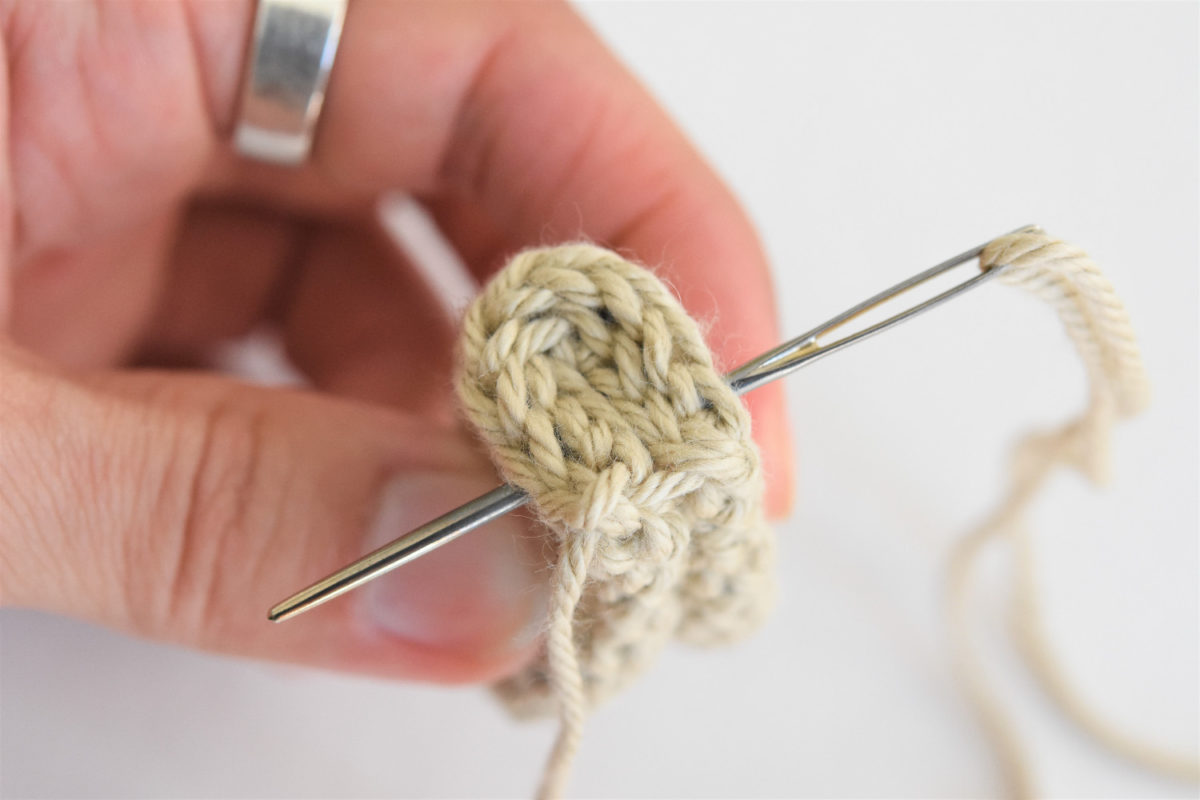
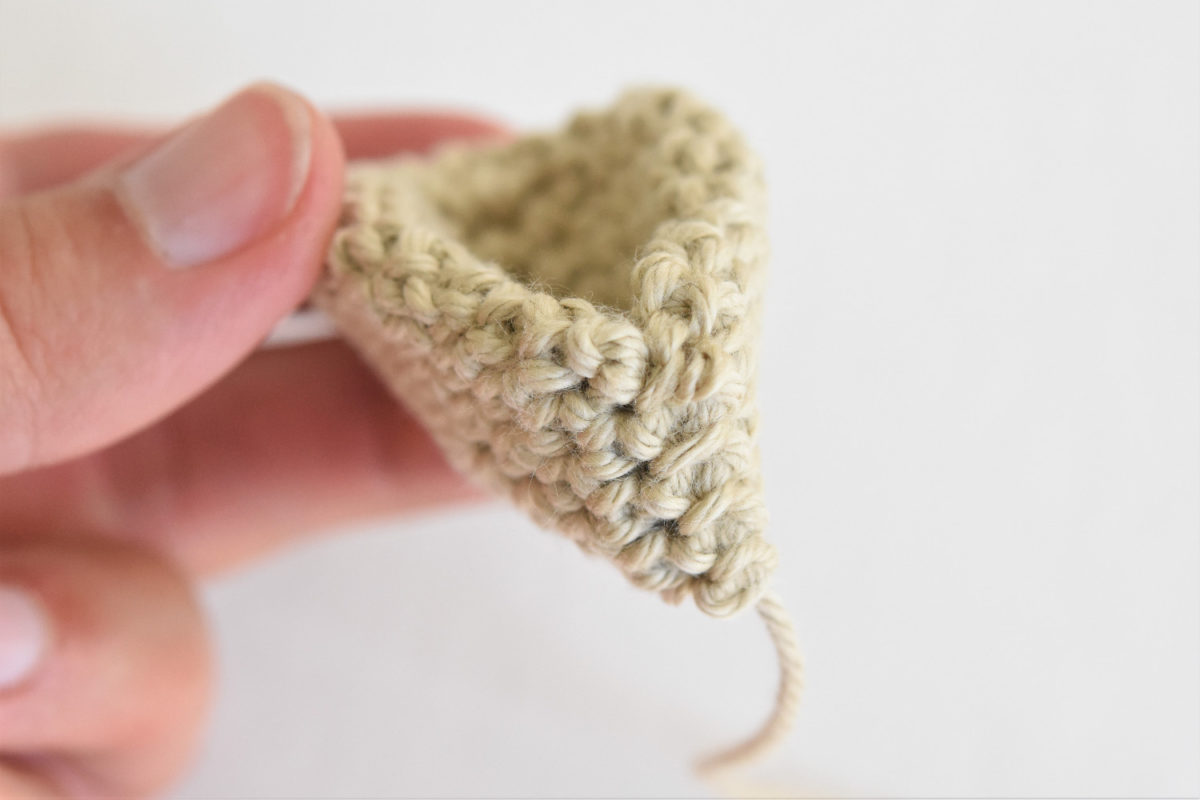
Finish the last round of an amigurumi piece as you normally would. Then fasten off. Take the yarn tail on a yarn needle. Flatten the piece so that you can continue sewing through both sides from right to left through all loops at the top.
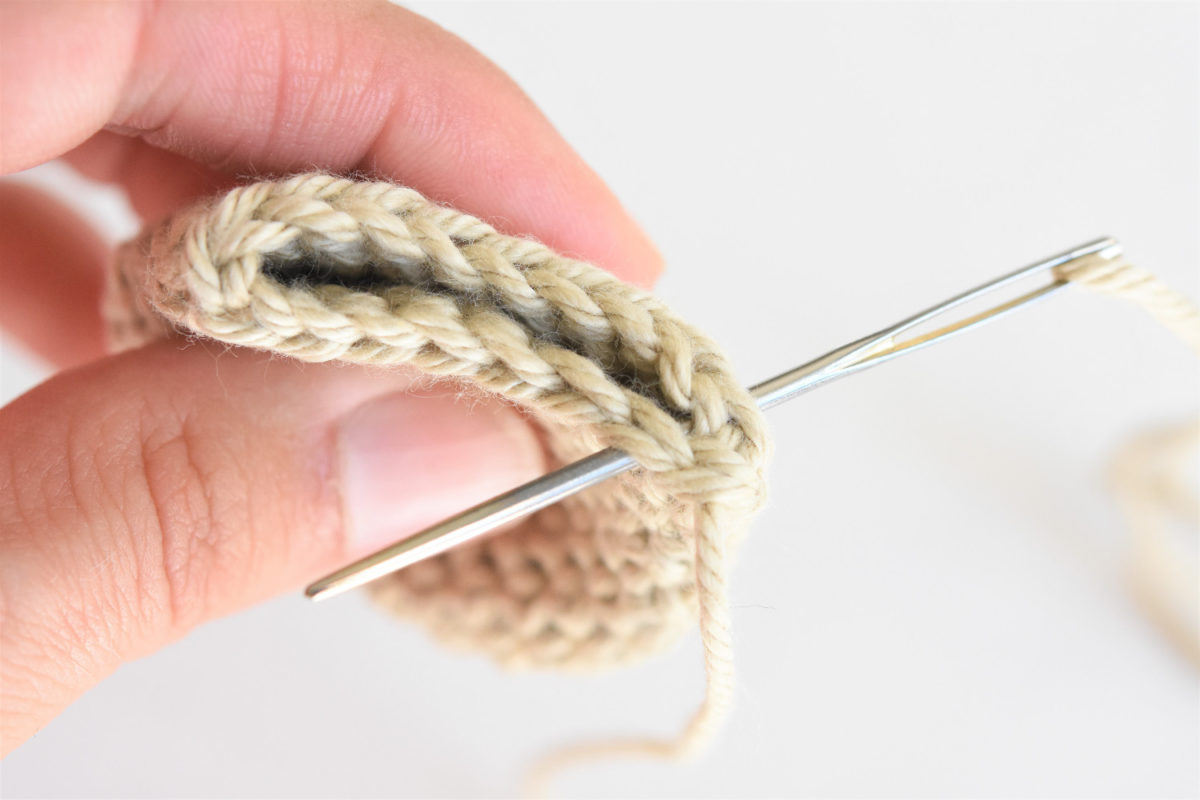
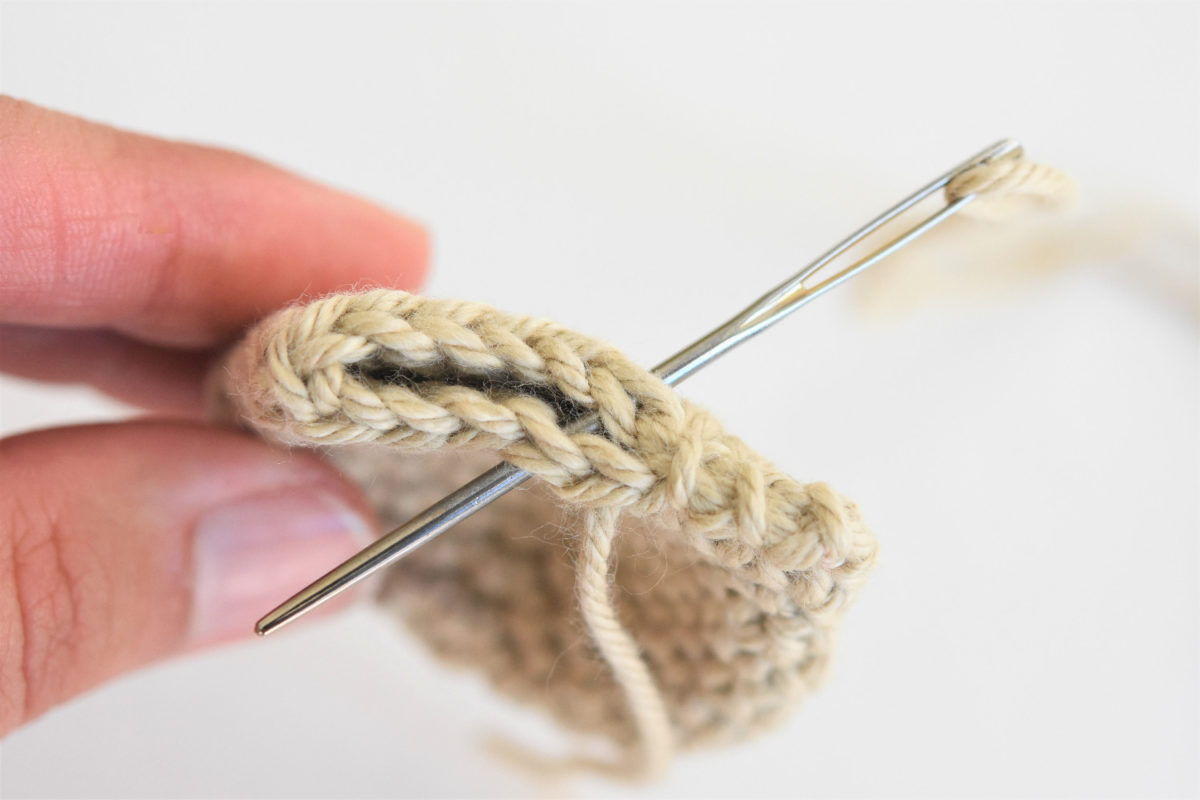
If the stitch count at last round was 18, you can sew it closed with 9 stitches. If you finished with 12 stitches, you can sew it closed with 6 stitches etc.
NB! Sometimes a flattened piece needs to be pinched together once more, for example an ear. In this case, make sure to sew through all four layers at once.
You can watch video instructions in addition:
After sewing the piece together you probably need to attach it to another amigurumi piece. Read my tutorial about sewing parts together here.